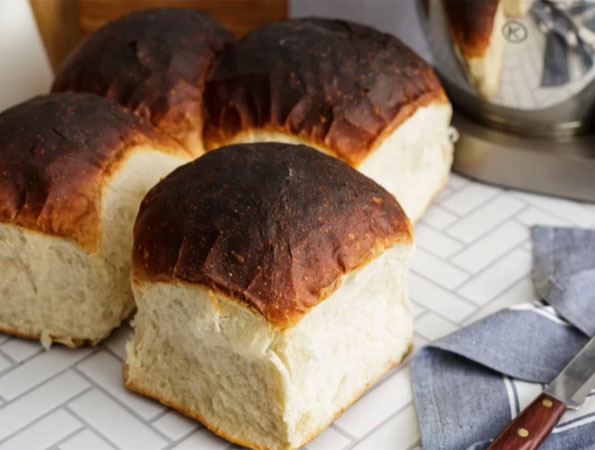
Buttermilk Batch by Patrick Ryan
Batch is a traditional Irish bread, it triggers so many childhood memories for people and is something we bake every day at the bakery. We use buttermilk in our dough as we find that it gives the bread an added richness.
Difficulty
Low
Time
160 min
Author
Patrick Ryan
Ingredients
Servings
16
Makes
4 loaves
1000
20
20 , or 7 g dried yeast
700
Utensils
Bowl, Square tin large, KVL65.001WH, KMX751ARD
Instructions
Step 1
Mix the flour and salt in a clean bowl. Crumble the yeast into the flour. Add the buttermilk to the flour. If you're using buttermilk direct from the fridge, you will find that the bread will take longer to prove, which isn't a bad thing. The longer bread proves, the more flavour that gets to develop. However, it's important to maximise proving without over proving.
Step 2
Bring the dough together with your hands or with a spatula. Turn the dough out onto a clean surface and knead for approximately 10 minutes or until the windowpane effect has been achieved. The dough should be soft and elastic.
Step 3
Place the dough in an oiled bowl, cover with a damp tea towel or wrap in cling film and leave to proof for 90 minutes.
Step 4
Turn the proved dough out and knock it back. Divide the dough into four equal portions, approximately 450g each. Shape each portion of dough into a rough round and leave them to rest on the counter for 10 minutes. We call this the bench rest. This allows the gluten to relax before final shaping.
Step 5
Traditionally batch bread is shaped onto a baking tray surrounded by a wooden frame. The frame supports the dough, ensuring high sides to your bread. The bread can be baked without the frame. All that will happen is that the final loaf may not have the same height as when baked within the frame. However, the flavour will still be great. A large square cake tin also works great to mimic this frame. Alternatively, just shape the loaves without a frame.
Step 6
Once the dough has rested, roll each portion of dough into a tight round and place it onto your baking tray, allowing each portion of dough to just touch each other. Should fit four loaves on one tray. 2 x 2.
Step 7
Cover and allow to prove again for about 60 to 90 minutes.
Step 8
Before baking, the dough should have well risen with a nice bounce to the dough when touched. There should be no fear of the dough collapsing when touched
Step 9
Preheat the oven to 220°C/425°F/gas mark 7. Place a roasting tray into the base of the oven.
Step 10
When ready to bake, place the loaves into the oven and pour in water from a boiling kettle into the hot roasting tray, which should release a blast of steam. Bake the loaves for about 35-40 minutes.
Step 11
Resist the temptation to get stuck in until the loaf cools. Enjoy

Delivery
Delivery within 1-3 business days

Money Back Guarantee
30-day return policy

Payments
Secure payments
Delivery
Delivery within 1-3 business days
Money Back Guarantee
30-day return policy
Payments
Secure payments
Want to mix with us?
Our newsletter gives you recipes, tricks, promotions and more.