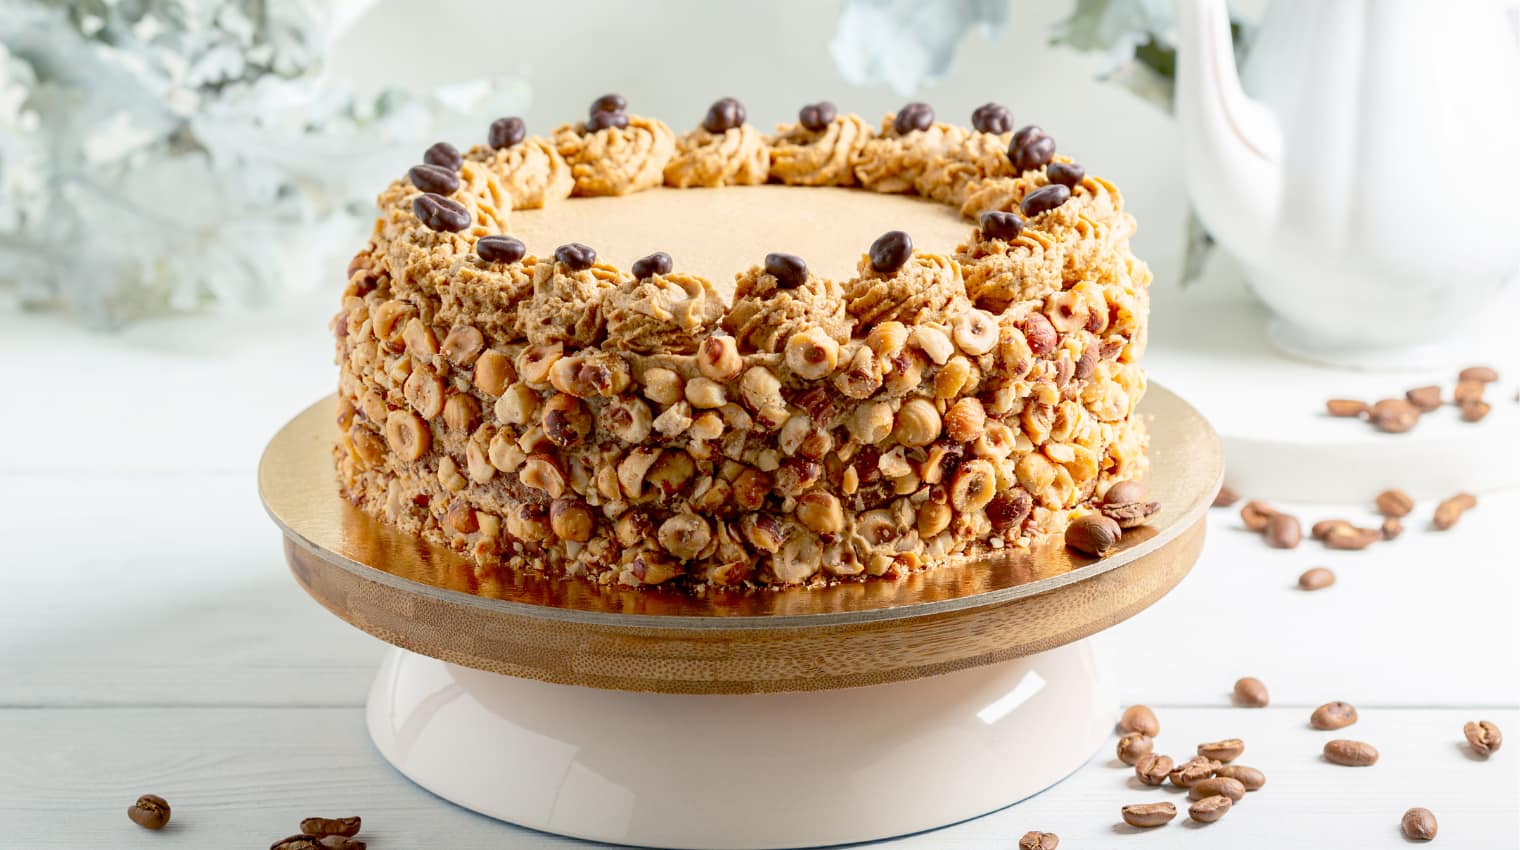
Hazelnut Butter Birthday Cake


Go nuts over this hazelnut butter birthday cake.
Ingredients
For the cake:
- 400g butter
- 400g caster sugar
- 6 eggs
- 400g plain flour, sifted
- 200g ground hazelnuts
- 1 tsp baking powder
- ½ tsp bicarbonate of soda
- ½ tsp salt
- 1 tsp vanilla extract
- 200g soured cream
- 200ml whole milk
For the icing:
- 80g butter, softened
- 950g icing sugar, sifted
- 50ml whole milk
- Pink food colouring
- 150g white chocolate, to decorate
- Freeze dried raspberries, to decorate
Tools
- Chef Titanium
Method
- Begin by browning the butter for the cake. Add the butter to a medium saucepan and place over a medium heat. Melt the butter, and, stirring all the time, cook for around 7 minutes until it has taken on a deep, golden brown colour and has a nutty aroma.
- Remove to a bowl to cool completely, taking to include any dark solids from the bottom of the pan.
- Preheat your oven to 180C.
- Whilst the butter is cooling, brake up the white chocolate and place in a glass bowl over a simmering pan of water, stir gently to help the melting process.
- Line a baking tray with greaseproof paper, pour over the melted white chocolate and spread to a thin layer, approximately 2-3 cm thick.
- Sprinkle over the freeze-dried raspberries. Refrigerate until the cake is ready to decorate.
- Stir together the flour, hazelnuts, baking powder, bicarbonate of soda and salt.
- Once the butter has cooled and firmed up (but is still quite soft), add it to the bowl of your Kenwood Chef XL Titanium Chef, fitted with the K-beater.
- Add the sugar and begin to beat together on a medium speed for a minute or two. Increase the speed to 5 and beat until you have a light, creamy texture, around 3 minutes.
- Reduce the speed to 3 and add the first egg, followed by a spoonful of the mixed dry ingredients.
- Repeat until all of the eggs have been added and the mixture is pale and fluffy.
- Reduce the speed to 2 and gently add the rest of the contents of the dry ingredients bowl. When it is almost combined, add the remaining ingredients and allow the machine to mix them until you have a soft batter.
- Split the batter between 3 parchment lined high sided 20cm cake tins and bake in the preheated oven for 10 minutes, then reduce the heat to 160C, and continue to bake for another 25-30 minutes, or until the centre of the cake springs back when gently pressed.
- Remove from the oven and allow to cool in the tins for 10 minutes, before transferring the cakes to a cooling rack to cool completely.As the cakes are cooling, prepare the buttercream. Into the clean bowl of your Chef XL Titanium, fitted with the creaming beater, add the softened butter.
- Cream the butter on a high speed for around 4 minutes, until it is light and fluffy. Stop the machine, add ¼ of the icing sugar and switch the machine on to speed 1, then gradually increase to speed 4 and beat until the icing sugar is completely combined.
- Stop the machine and repeat with the rest of the icing sugar until it has all been added. Loosen the buttercream by adding the milk gradually, with the machine running on a low speed.
- Once the cakes have cooled split each one in two so that you have 6 layers.
- Place the first layer of the cake onto a serving plate, secured with a little buttercream. Spread 1/6 of the icing over the cake, to generously cover, with a little overhang at the edges. Top with the second layer of the cake.
- Add a drop of pink colouring to the rest of the buttercream in the bowl and mix until you have a pale pink shade. Use this to spread over the second layer, just as you did the first, topping that with the third layer.
- Add another drop of pink colouring to the buttercream, so that this time you have a slightly more intense shade and repeat the process with the remaining layers, so that when you top the cake has a much more deeper, intense shade of pink icing.
- There ought to be some buttercream poking out of the sides of the cake between each layer. Smooth this around the cake using a palate knife, scraping off any excess.
- Remove your white chocolate from the fridge and break it up in to shards to decorate the top of the cake.