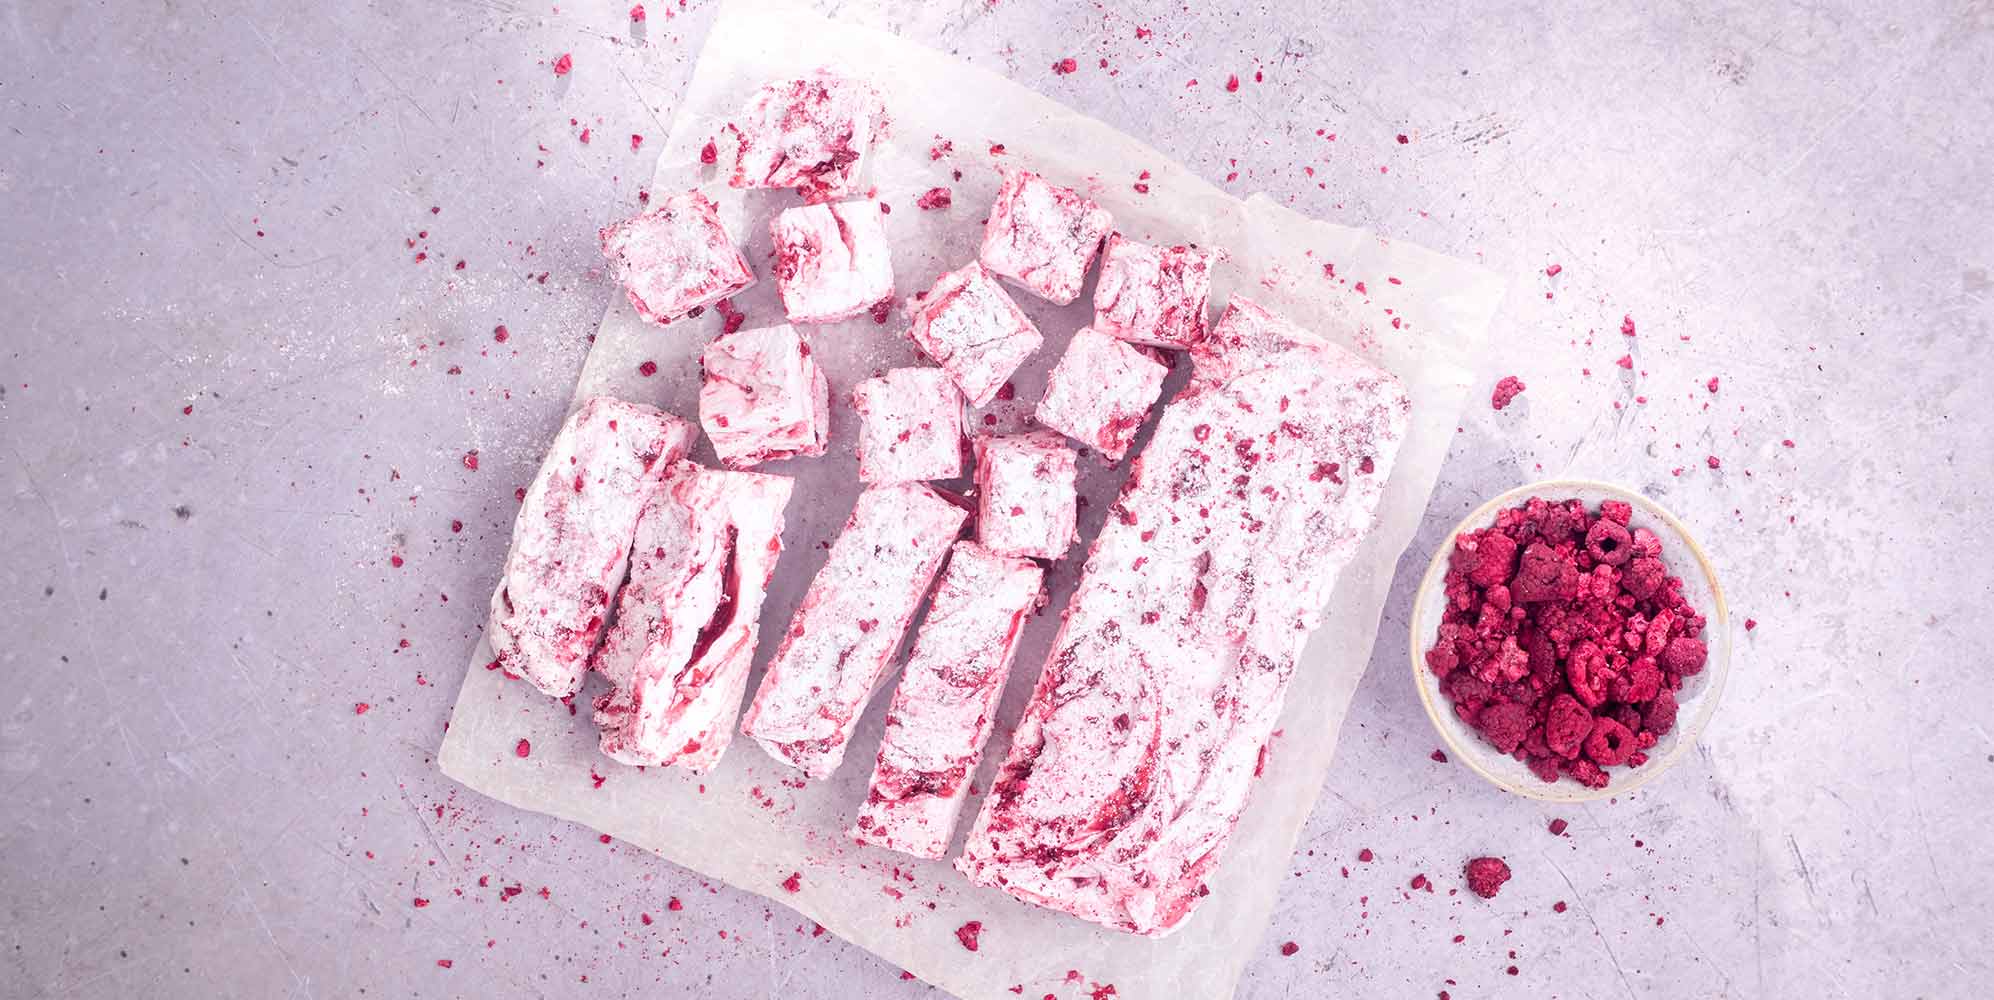
Soft, fluffy and pretty much irresistible, these raspberry-spiked marshmallow squares are deliciously moreish and make the perfect homemade gift. They’re also much easier to make than you think, with your Cooking Chef XL giving you total control over temperature and whisk speed to ensure truly melt-in-the-mouth results.
Preparing ahead
This recipe makes 25 marshmallow squares, and takes 3 hours 45 minutes, including 3 hours chilling time.
Here’s what you’ll need:
Ingredients 350g raspberries 380g caster sugar 1 tbsp lemon juice 1 tbsp water 2 egg whites 85ml water 10ml lemon juice 13g gelatine (approx 8 leaves) 10g freeze dried raspberries 175g cornflour 25g icing sugar
Tools Cooking Chef XL Square baking tin (23cm/9”)
For those that follow vegetarian diets, we recommend using vegetarian gelatine instead.
Getting started
Grease a square baking tin and line with cling film or greaseproof paper. Put the gelatine in a deep bowl and cover with cold water. Leave to soften.
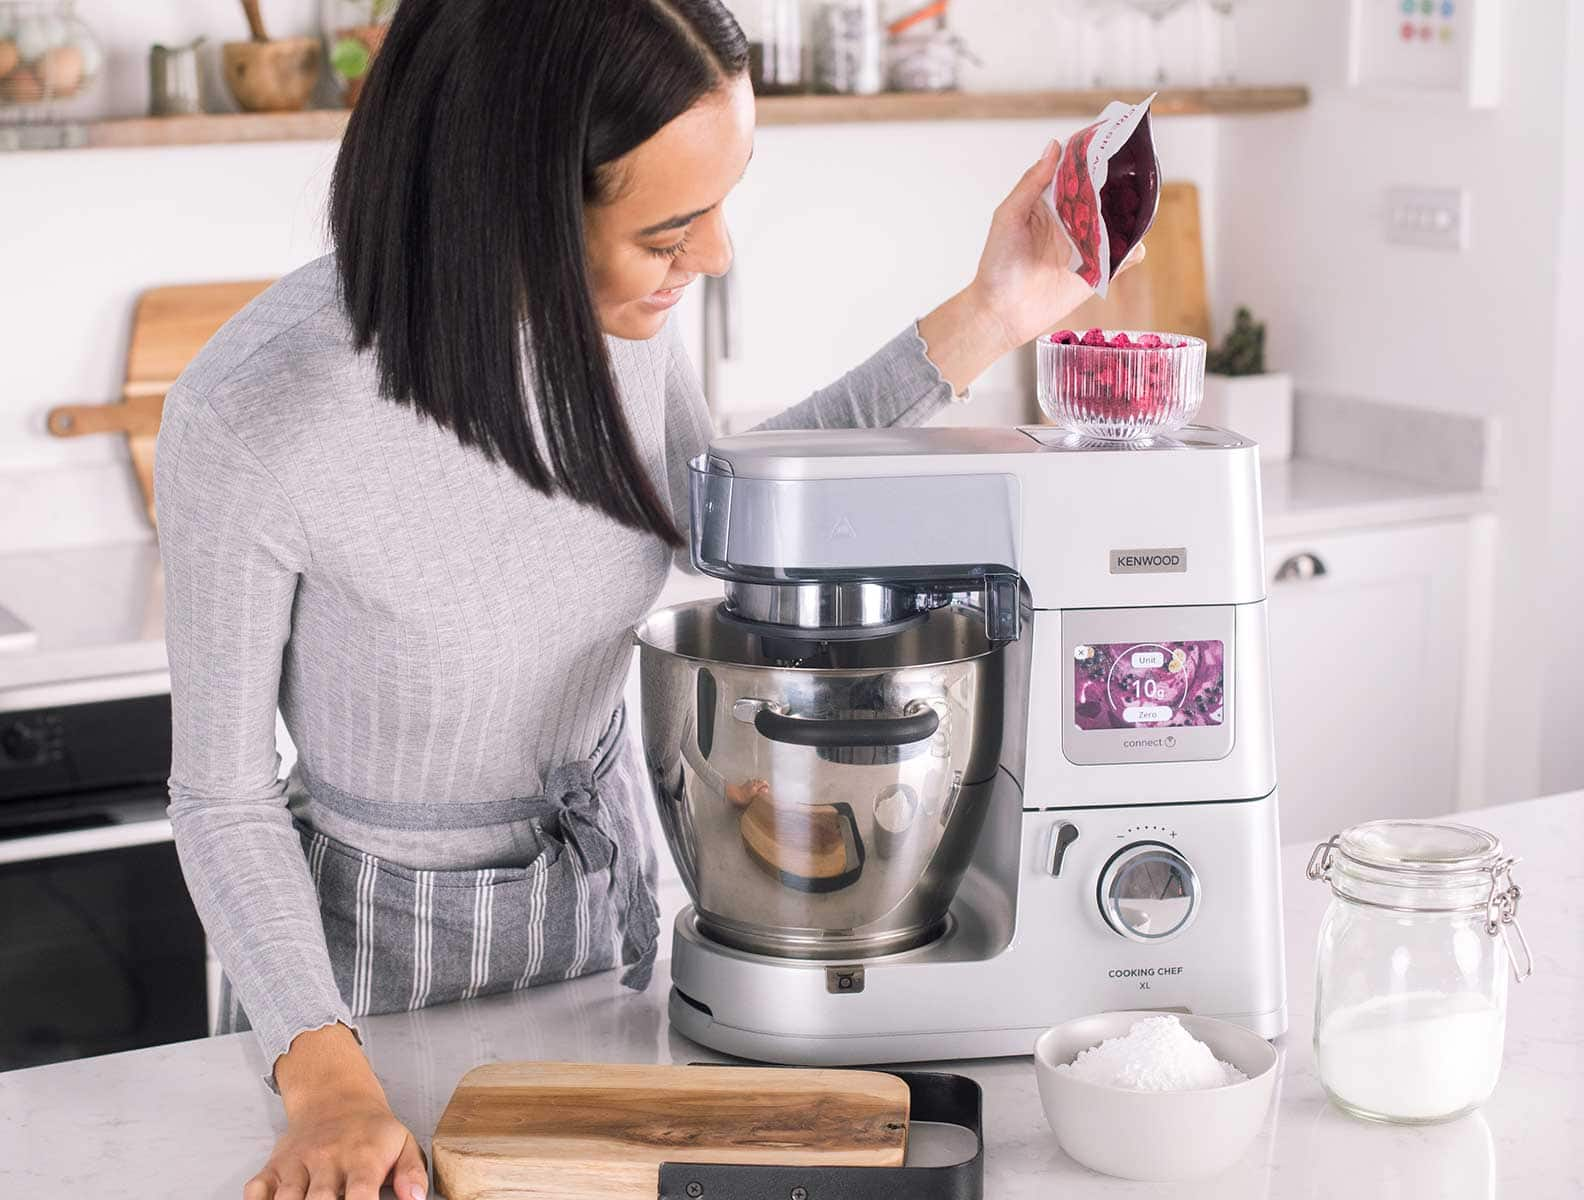
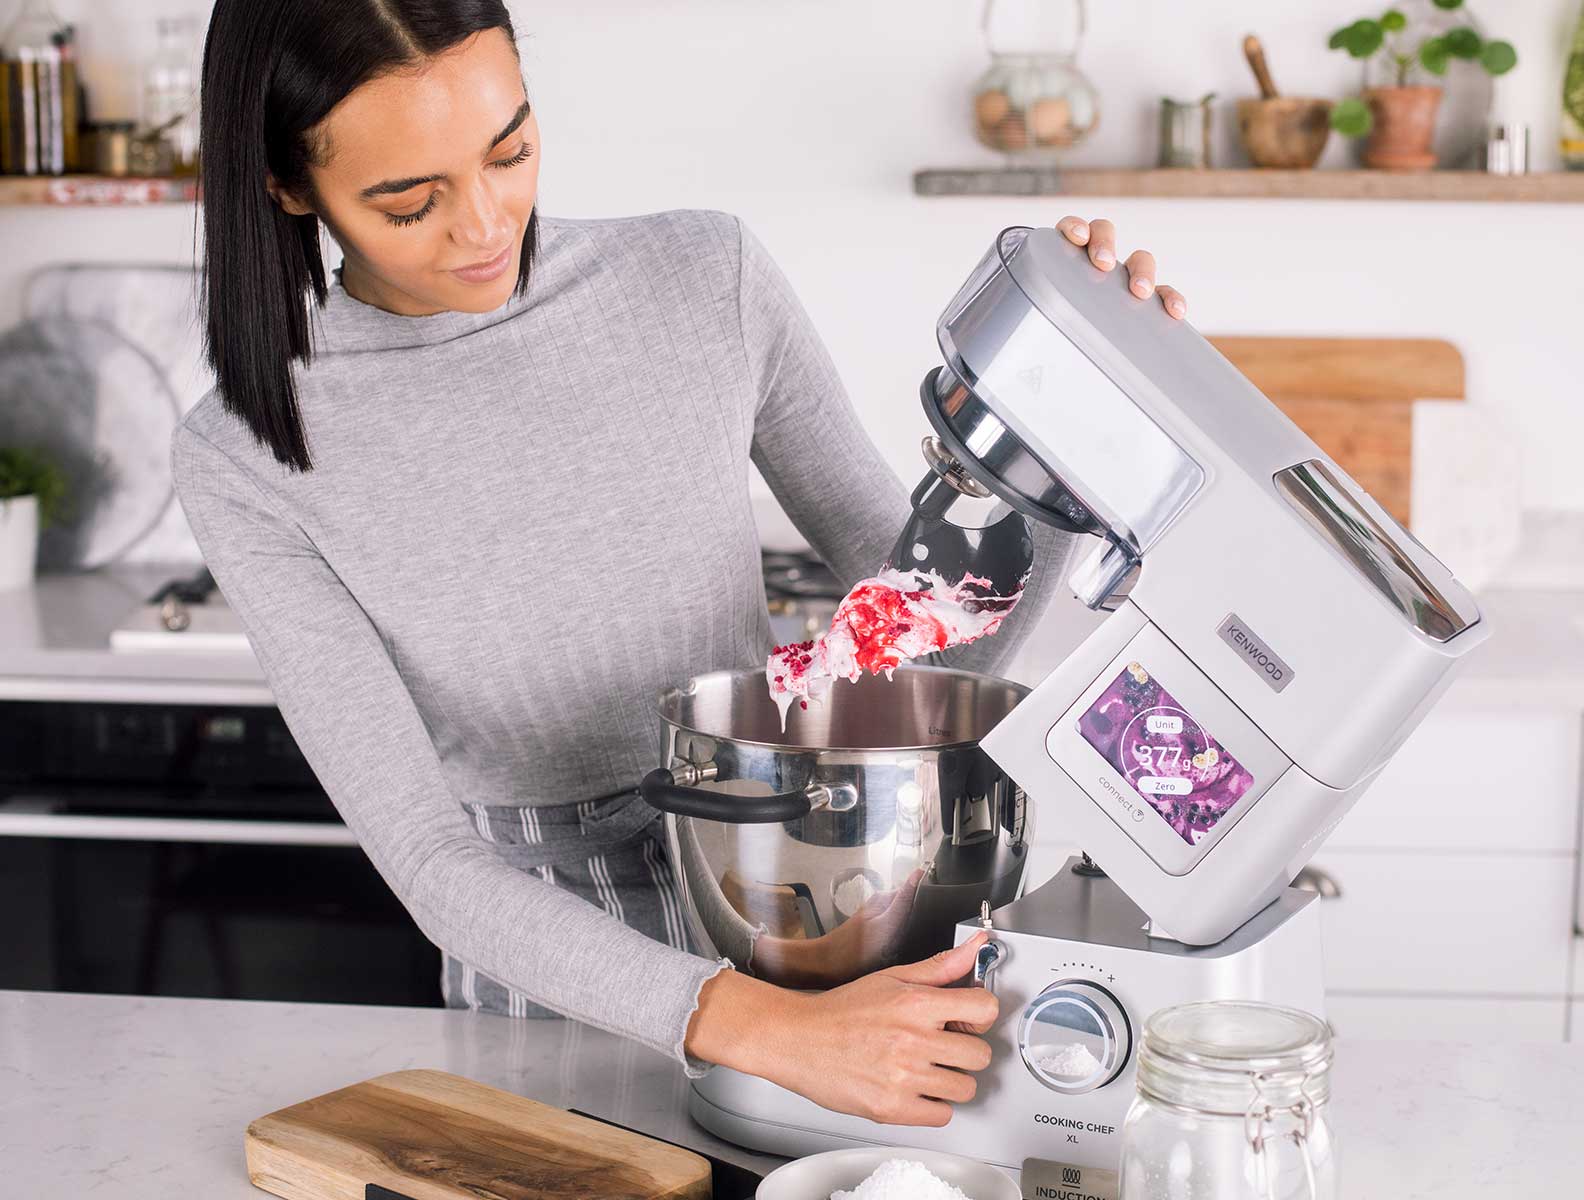
Lift the Cooking Chef XL head and fit the heat shield. Attach the bowl and fit the stir tool and stir assist clip.
Making raspberry coulis
Add the raspberries, 2 tablespoons of the caster sugar, 1 tablespoon lemon juice and 1 tablespoon of water to the bowl. Fit the splashguard.
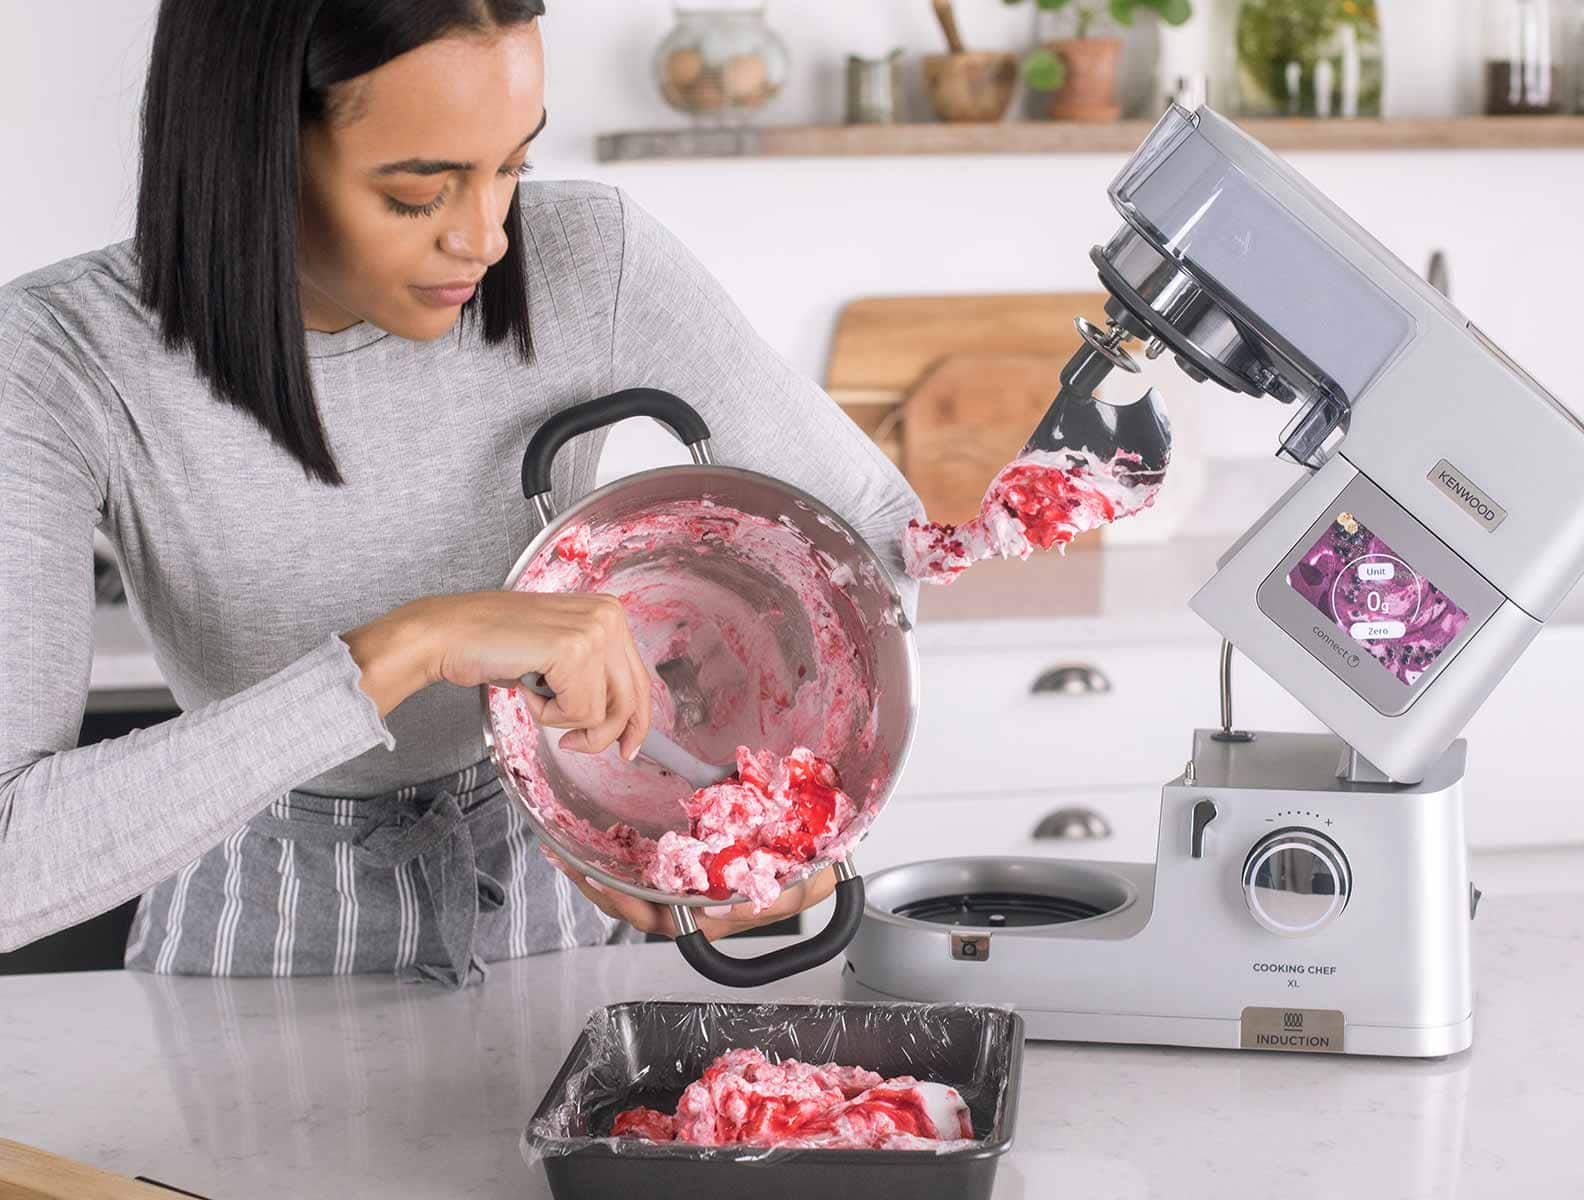
Using manual mode, set to 5 minutes, temperature 120℃ and stir speed 1. This will cause the raspberries to break down, so afterwards sieve the mixture into a bowl to remove the seeds. Then set aside to cool and clean your mixer bowl.
Creating the marshmallow mixture
Fit the whisk and stir tool. Add the rest of the caster sugar, egg whites, 10ml lemon juice and 85ml water to the bowl and fit the splashguard.
Set to 6 minutes, temperature 85℃ and speed 6. Then turn the temperature off and mix for a further 2 minutes on speed 6.
Combining ingredients
Squeeze the excess water from the gelatine and add to the mixing bowl. Mix on speed 6 for 5 minutes.
Remove the whisk and stir tools and fit the folding tool. Add the raspberry coulis and freeze-dried raspberries to the mixing bowl. Mix for 10 seconds on speed Min to marble together. For a more obvious marbled effect with more defined streaks of pink, gently fold the coulis and raspberries into the marshmallow mixture with a spatula instead, stopping before the ingredients are fully combined.
Letting the mixture set
Pour the mixture into the tin and level with a spatula. Cover with parchment paper and leave to cool at room temperature for 3 hours.
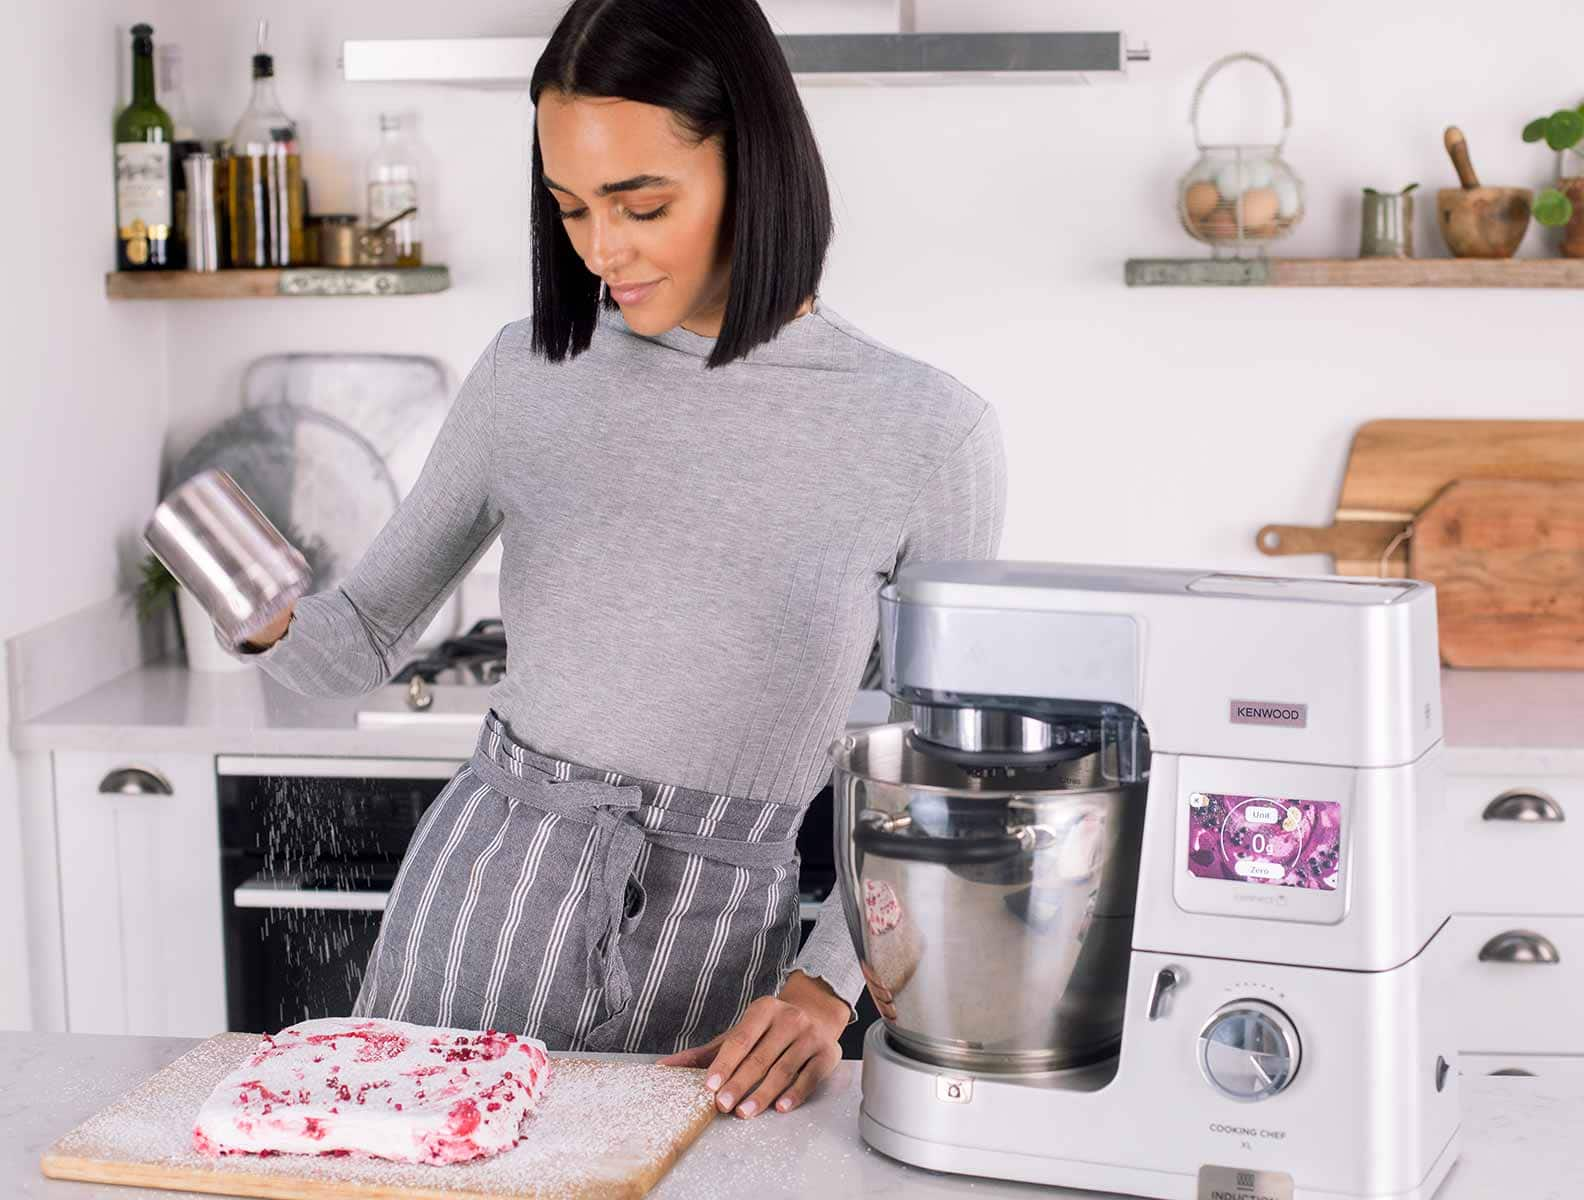
While the marshmallow cools, sift the icing sugar and cornflour into a large bowl and mix together. Use one tablespoon of the sieved cornflour sugar mix to lightly dust a chopping board.
Remove the parchment paper from the top of the marshmallow tin and upturn the set marshmallow onto the dusted chopping board. Peel away the cling film or greaseproof paper that you used to line the tin.
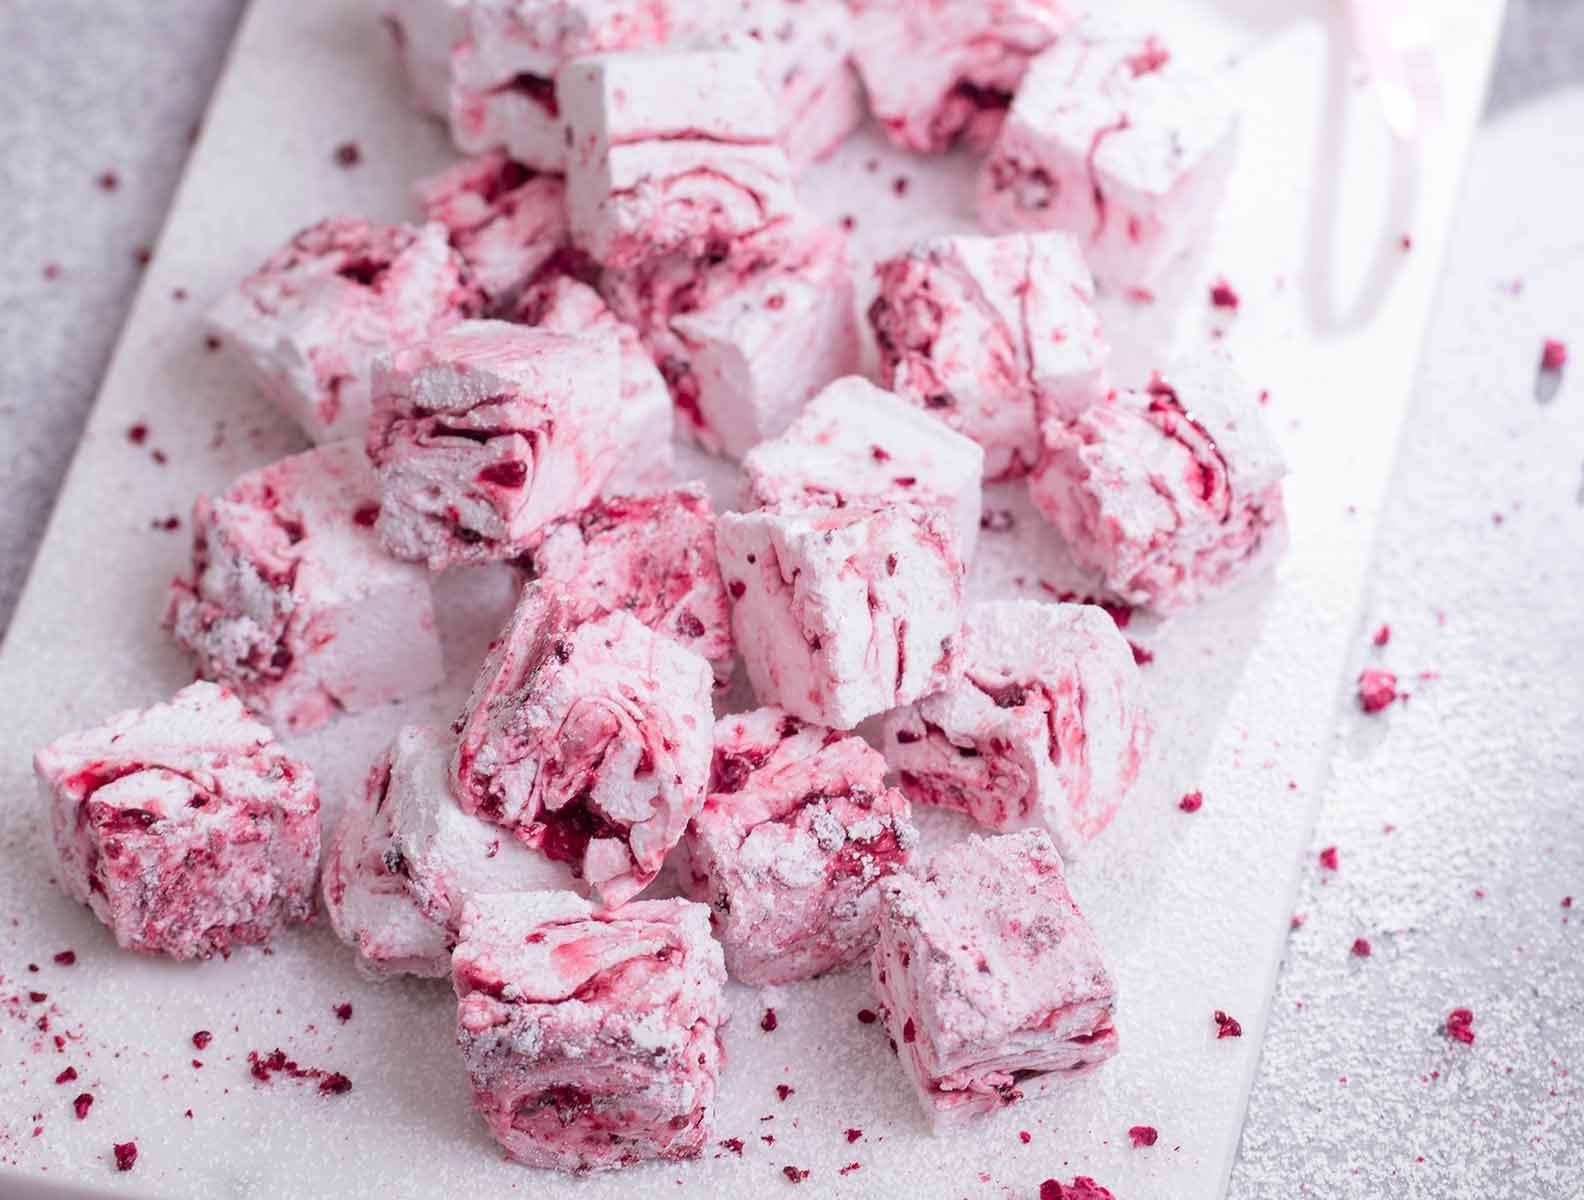
Lightly dust the top of the marshmallow with some of the cornflour sugar mix and use a hot sharp knife to cut into squares. Gently roll each marshmallow square in the cornflour sugar mix, using a sieve to shake off any excess. This will stop them sticking together.
Serve immediately, or store in an airtight container for up to 3 days.
Once you’ve tried making these delicious raspberry marshmallow squares, why not get creative and experiment with some other flavours? Try using vanilla, peppermint or lemon, or for a grown ups only treat, rum.
Andre lesere likte også…
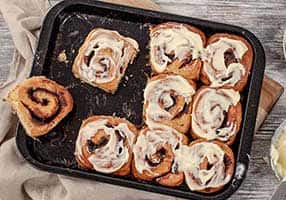
Delicious cinnamon buns with cream cheese frostingLes mer