
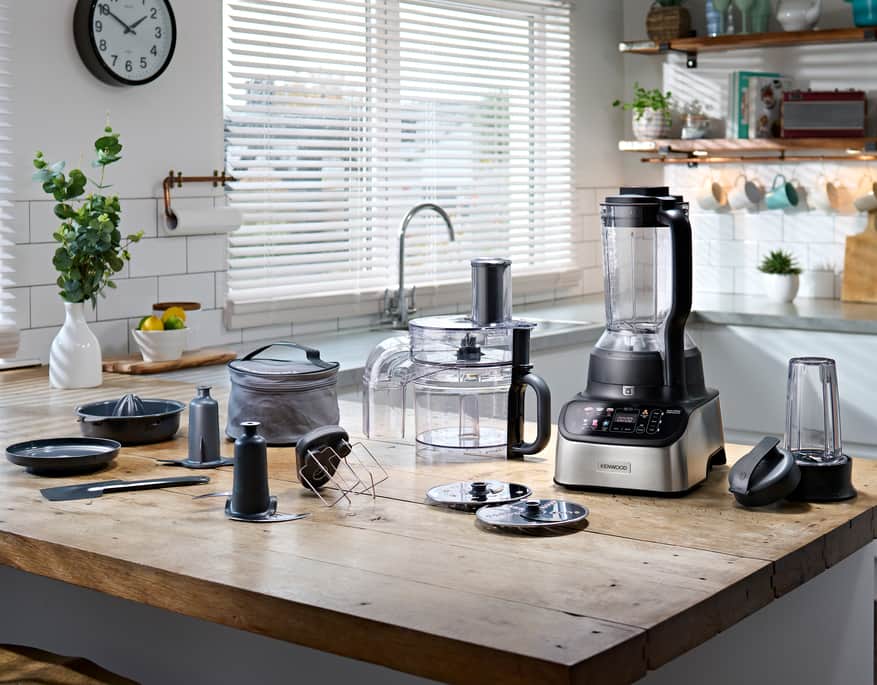
GET STARTED
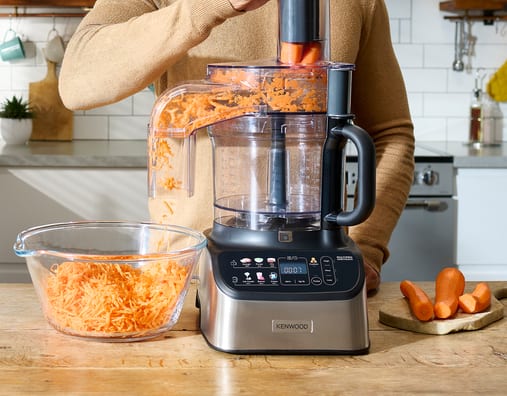
Welcome to your KenwoodMultiPro OneTouch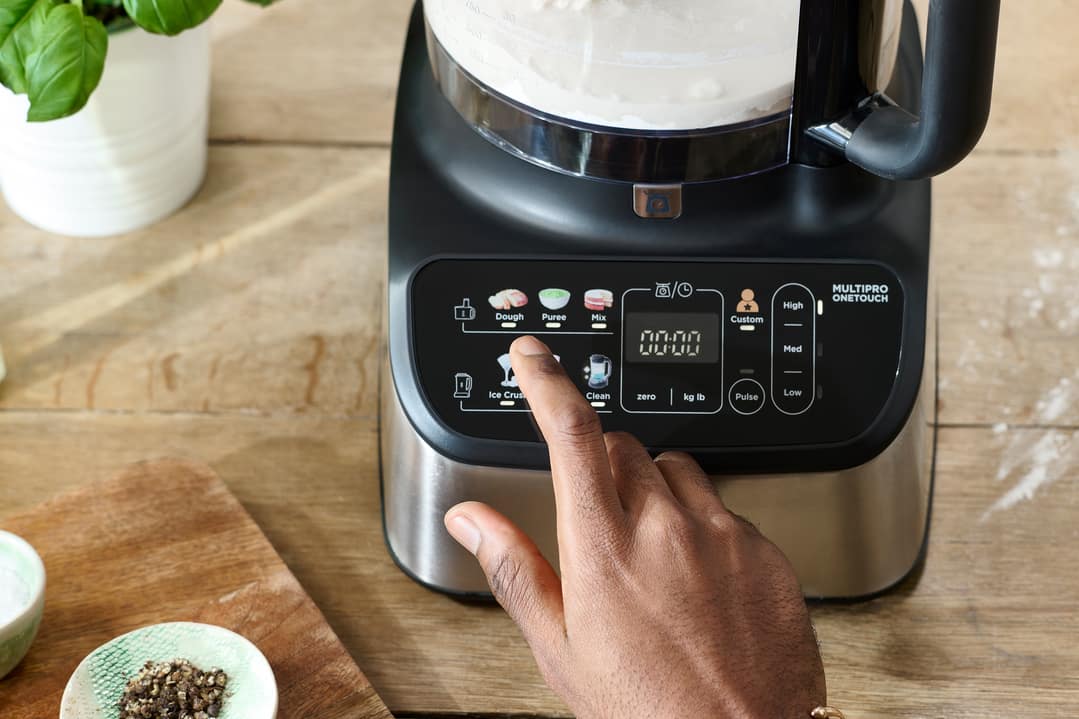
HOW TO
Prep with a touch
Six automatic programmes for great results, without the guesswork.
WATCH VIDEO
WATCH VIDEO
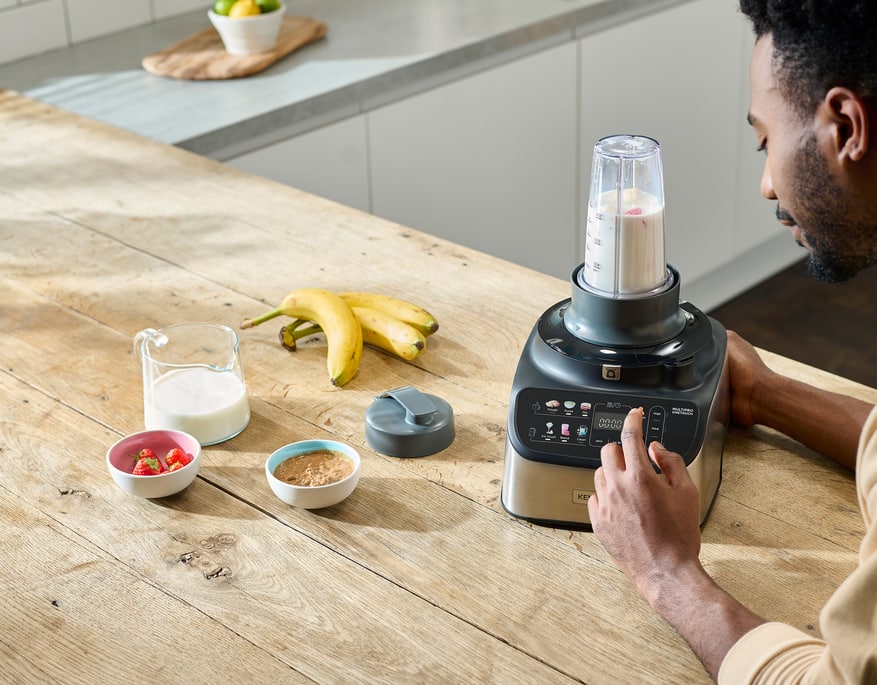
HOW TO
Set a custom preset
Create a preset unique to you. Set once, use again and again.
WATCH VIDEO
WATCH VIDEO
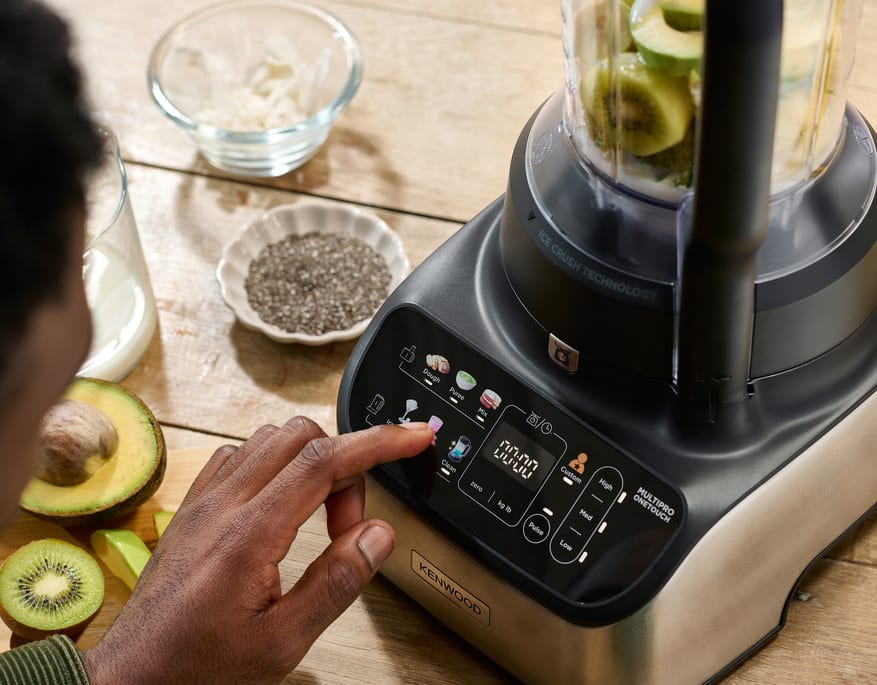
HOW TO
Slice or grate direct to plate
Limitless grating and slicing directly onto a serving dish or into a saucepan.
WATCH VIDEO
WATCH VIDEO
We recommend you register your product with us
It takes just a few minutes to register your Kenwood product for these fantastic benefits, and more!Be the first to know about special offers | Discounts on attachments and accessories | Invitations to Live Demos
RECIPES
WHAT SHALL WE MAKE TODAY?
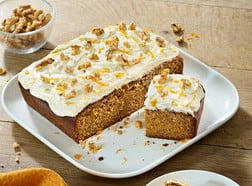
Carrot Cake
Deliciously moist carrot cake topped with cream cheese frosting. A quick and easy recipe, perfect if you have family visiting.
See Recipe
See Recipe

Beetroot and Goat's Cheese Flatbread
Flatbread topped with pesto, beetroot and goat's cheese. Ideal sharing food, perfect for parties.
See Recipe
See Recipe
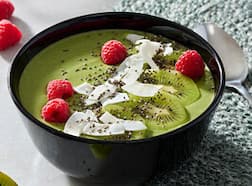
Green Smoothie Bowl
A refreshing tropical breakfast that's a great way to start the day. See Recipe

Watermelon Ice Crush
A quick refreshing drink perfect for picnics and summer parties.
See Recipe
See Recipe

FAQS
GETTING TO KNOW YOUR MULTIPRO TOUCH