Pizza dough do's and don'ts
Fancy creating delicious tasting, authentic pizza at home? We’ll show you just how simple it is to make dough using your stand mixer and produce a classic thin crust pizza that tastes like it's come straight out of Naples. From tips on how to prove and knead your dough to the ideal cooking temperatures and topping choices, we’ll help you bring a taste of Italy into your home.
Making perfect pizza at home is quick and simple, and a great thing to do with kids or a group of friends. Once you’ve mastered the techniques and processes involved you can really have fun with it, experimenting with different crust thicknesses and shapes and of course, toppings and flavour combinations. You can even adapt the basic pizza dough recipe to create a stunning dessert; this gluten free winter berry pizza is a real showstopper.
So whether you like them thin and crispy or chewy deep dish style, favour classic toppings like those used in this rustic pizza recipe or something a bit more adventurous, these tips will help you make delicious pizza at home, from scratch.
Our step by step recipe for a classic thin crust pizza dough will show you just how easy it is to make using your stand mixer. And the great thing is you can make the dough in advance, and even freeze it, so you can cook one up whenever you fancy. Even if they come out looking a bit misshapen as your perfect your shaping technique, we promise they will taste incredible- you’ll never want to order in again.
Yeast tips
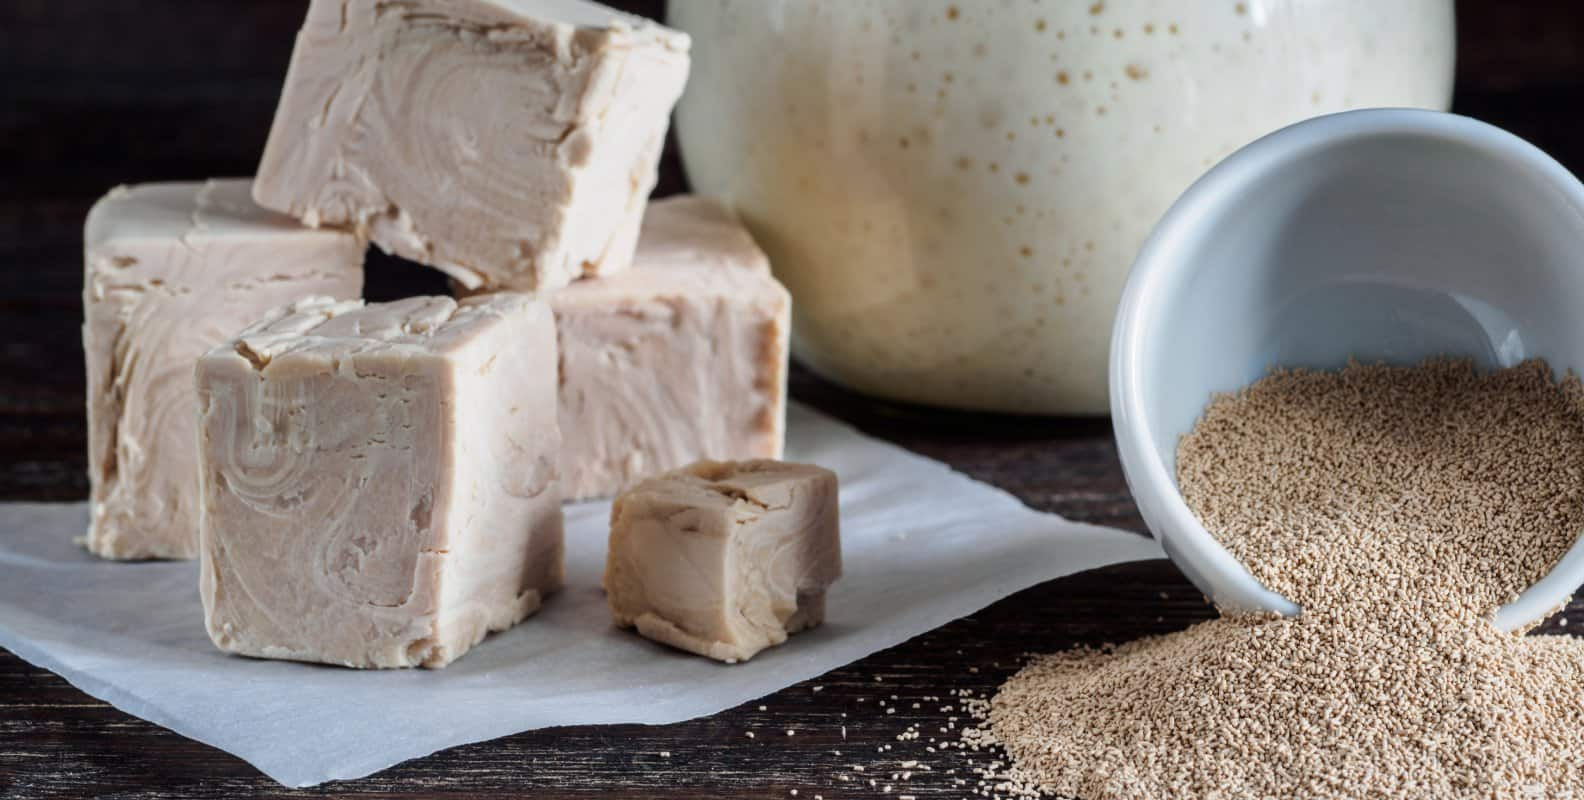
Yeast is a living organism that acts as a leavening agent. In the correct environment it will grow and multiply, releasing bubbles of carbon dioxide as it ferments and causing the dough to increase in volume as it rises. As well as giving the pizza a light, airy texture, the fermentation process also adds deeper, more complex flavours to your dough, giving your base that authentic pizzeria style tang.
Before you start making your dough, it is always worth checking if your yeast is still active, as if it isn’t, your pizza dough may not rise. Firstly, check your yeast’s expiration date and discard it if it is past its use by date. Even if it is in date you should still make a habit of proofing, or testing, your yeast before adding it to the rest of your ingredients. To do this, add the yeast to a small bowl of lukewarm water, along with a pinch of sugar and stir until combined. Leave for five to ten minutes. If the yeast is active the mixture will begin to bubble and foam, which it’s fine to use. If the mixture does nothing your yeast is stale and you shouldn’t use it.
When using yeast make sure you follow the recipe closely and add as much as is specified. Too little yeast and your dough won’t rise enough, and the pizza base will taste bland. Use too much yeast and your dough may over-ferment. Tell-tale signs are your dough expanding too much or tasting and smelling a bit sour, with an almost alcoholic aftertaste (the yeast produces alcohol as it ferments).
Proving is key
Proving your pizza dough is when you allow it to rest and rise before baking it, letting the yeast work its magic. This stage is vital for developing not only a fuller-flavoured base, but also a better interior structure.
Ideally, your dough should be left to prove in a bowl covered with a clean tea towel at room temperature, in a draught- free spot. If the room is very warm the yeast will work quicker and the dough will take less time to rise, while if the room is cooler you may need to give the dough more time than the recipe suggests- you’re looking for it to double in size. But be careful not to leave your dough to prove for too long. Not only will the flavour be affected (the yeast will convert all the sugar in the dough into alcohol, and it will taste sour), but the structure will be compromised, leaving it more likely to collapse and resulting in a really dense and floppy end product.
Ideally, your dough should be left to prove in a bowl covered with a clean tea towel at room temperature, in a draught- free spot. If the room is very warm the yeast will work quicker and the dough will take less time to rise, while if the room is cooler you may need to give the dough more time than the recipe suggests- you’re looking for it to double in size. But be careful not to leave your dough to prove for too long. Not only will the flavour be affected (the yeast will convert all the sugar in the dough into alcohol, and it will taste sour), but the structure will be compromised, leaving it more likely to collapse and resulting in a really dense and floppy end product.
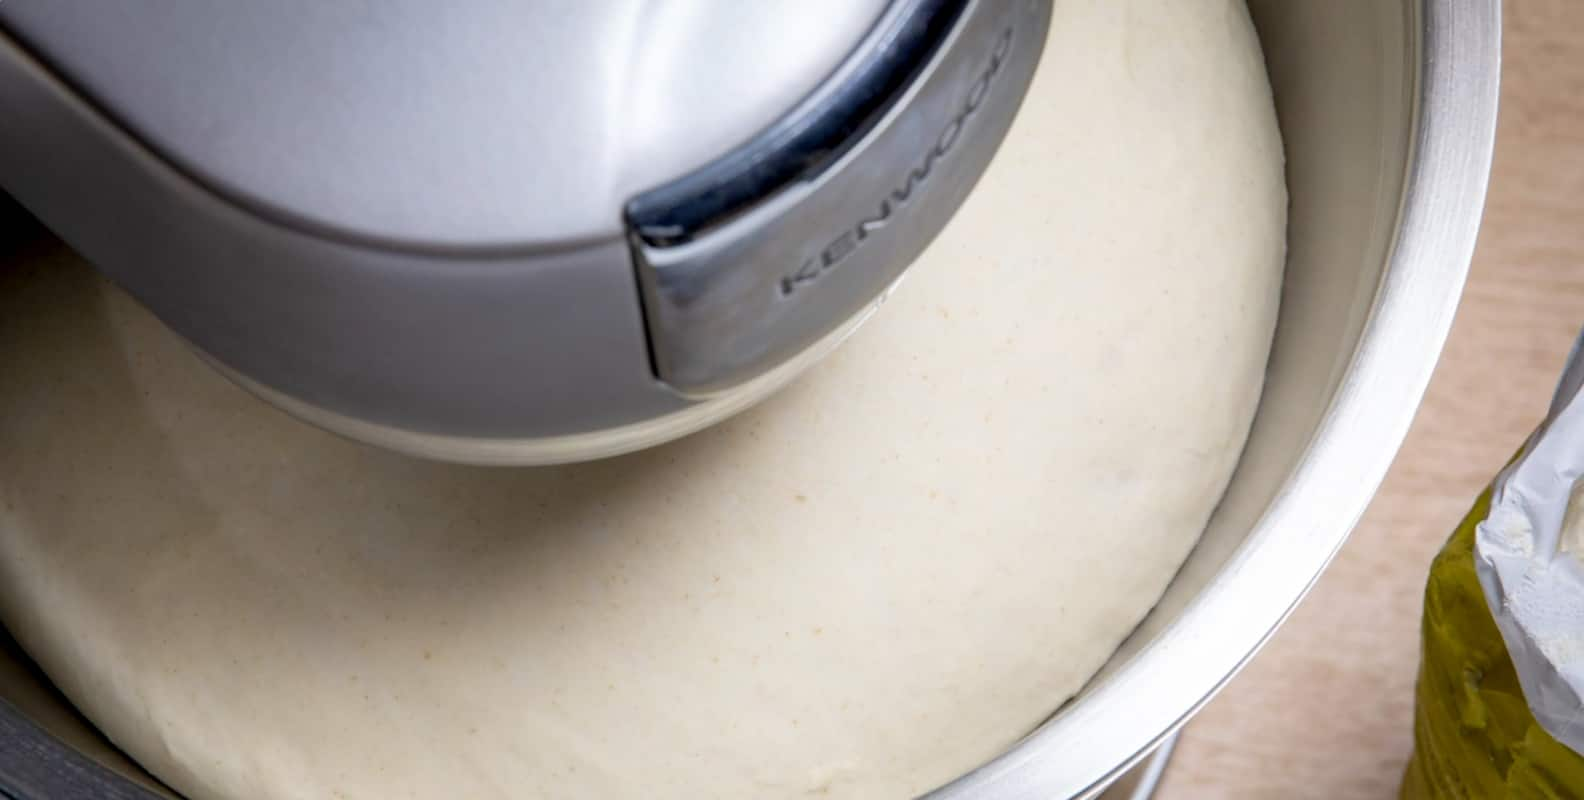
If you have a Titanium Chef Patissier XL or Cooking Chef XL, the dough proving preset function will warm the bowl to the optimum temperature for proving your dough and even tell you when it’s ready.
Don’t over work it

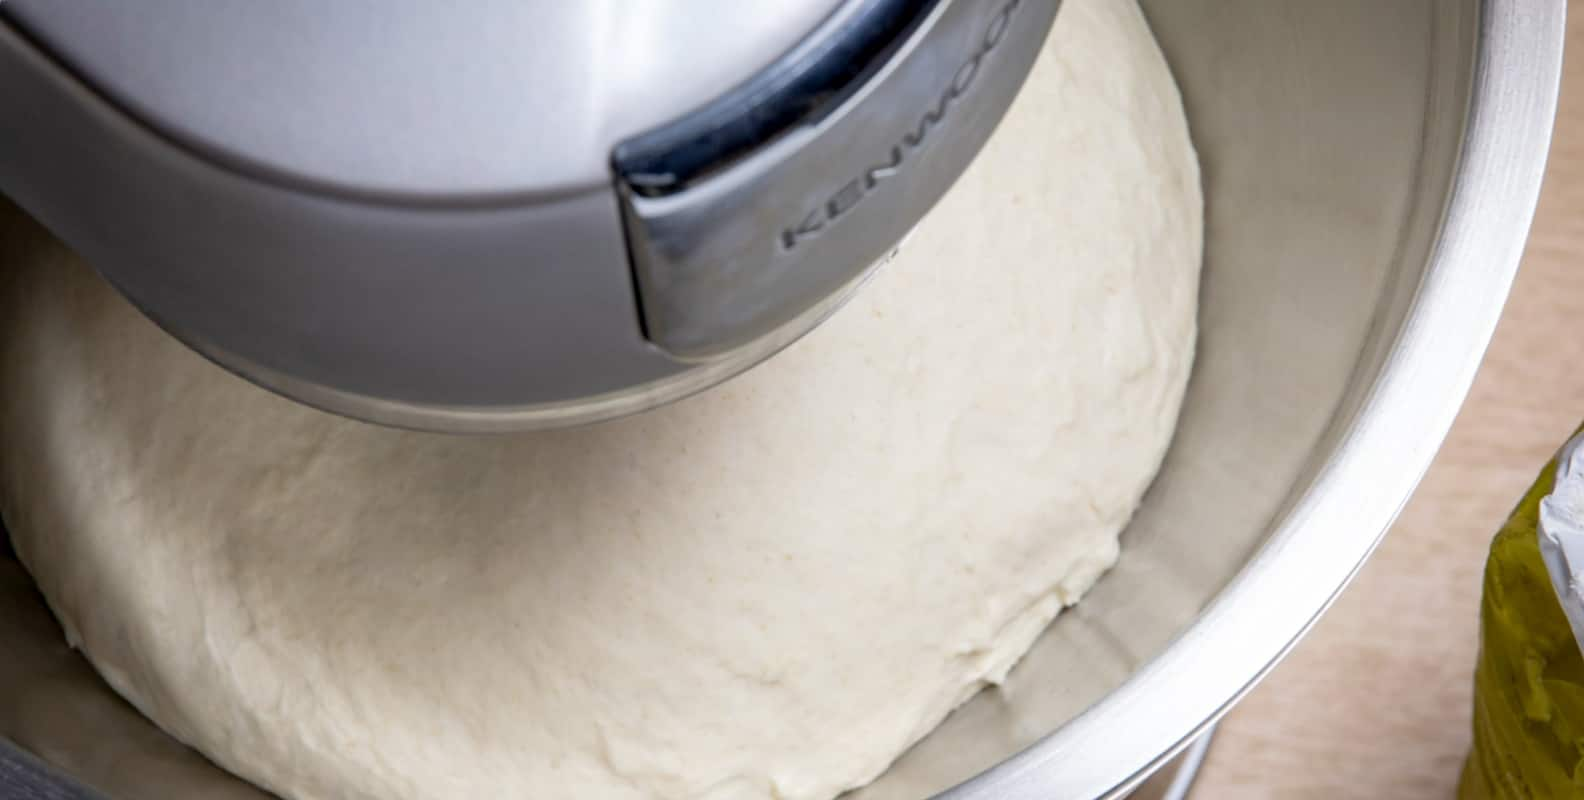
Kneading your dough builds up the gluten, releasing proteins in the flour to create a strong, stretchy structure.
If you’re doing it by hand, turn your dough out onto a lightly floured surface. Using the heel of your hand, begin to press and roll the dough out across the surface. Then gather up the dough and start again, repeating the process until the dough feels smooth and stretchy and holds its shape without sagging. Be careful not to handle your dough for too long- around 5 minutes of kneading should do it. Any longer and you will risk overworking your dough, leaving it crumbly and tough.
Your Kenwood stand mixer can also be used to knead your pizza dough, leaving your hands free to get on with something else while it does all the hard work. All our stand mixers come with a dough tool as standard, which is specially designed to mimic the act of kneading by hand and handle heavy loads. The Cooking Chef XL even has a dough kneading preset function. Simply add your ingredients to the mixing bowl and let your machine take care of the rest.
To check whether your dough is kneaded enough press your finger into it- the dough should spring back quickly. Or you can try the windowpane test. Break off a small bit of dough and gently pinch and stretch it between your fingers. If it stretches thinly enough so you can almost see through it without breaking it’s ready to be rolled out.
Avoiding the dreaded sticky dough…
The perfect pizza dough is springy, supple and a bit sticky. But if your dough is wet it can get too sticky, making it difficult and messy to work with.
The good news is that a wetter dough will cook better than one that is too dry. To make it easier to handle, try rubbing your hands with a little olive oil, or sprinkle the dough with a small amount of flour (but not too much, otherwise you might dry it out). When proving the dough, oiling the bowl first will prevent it from sticking. Dust your surface and any tools you’re using with flour before rolling the dough out and shaping it. Then when you're ready to transfer your pizza to the oven for cooking, dust your baking sheet or pizza stone with flour or semolina before placing your pizza on it.
The good news is that a wetter dough will cook better than one that is too dry. To make it easier to handle, try rubbing your hands with a little olive oil, or sprinkle the dough with a small amount of flour (but not too much, otherwise you might dry it out). When proving the dough, oiling the bowl first will prevent it from sticking. Dust your surface and any tools you’re using with flour before rolling the dough out and shaping it. Then when you're ready to transfer your pizza to the oven for cooking, dust your baking sheet or pizza stone with flour or semolina before placing your pizza on it.
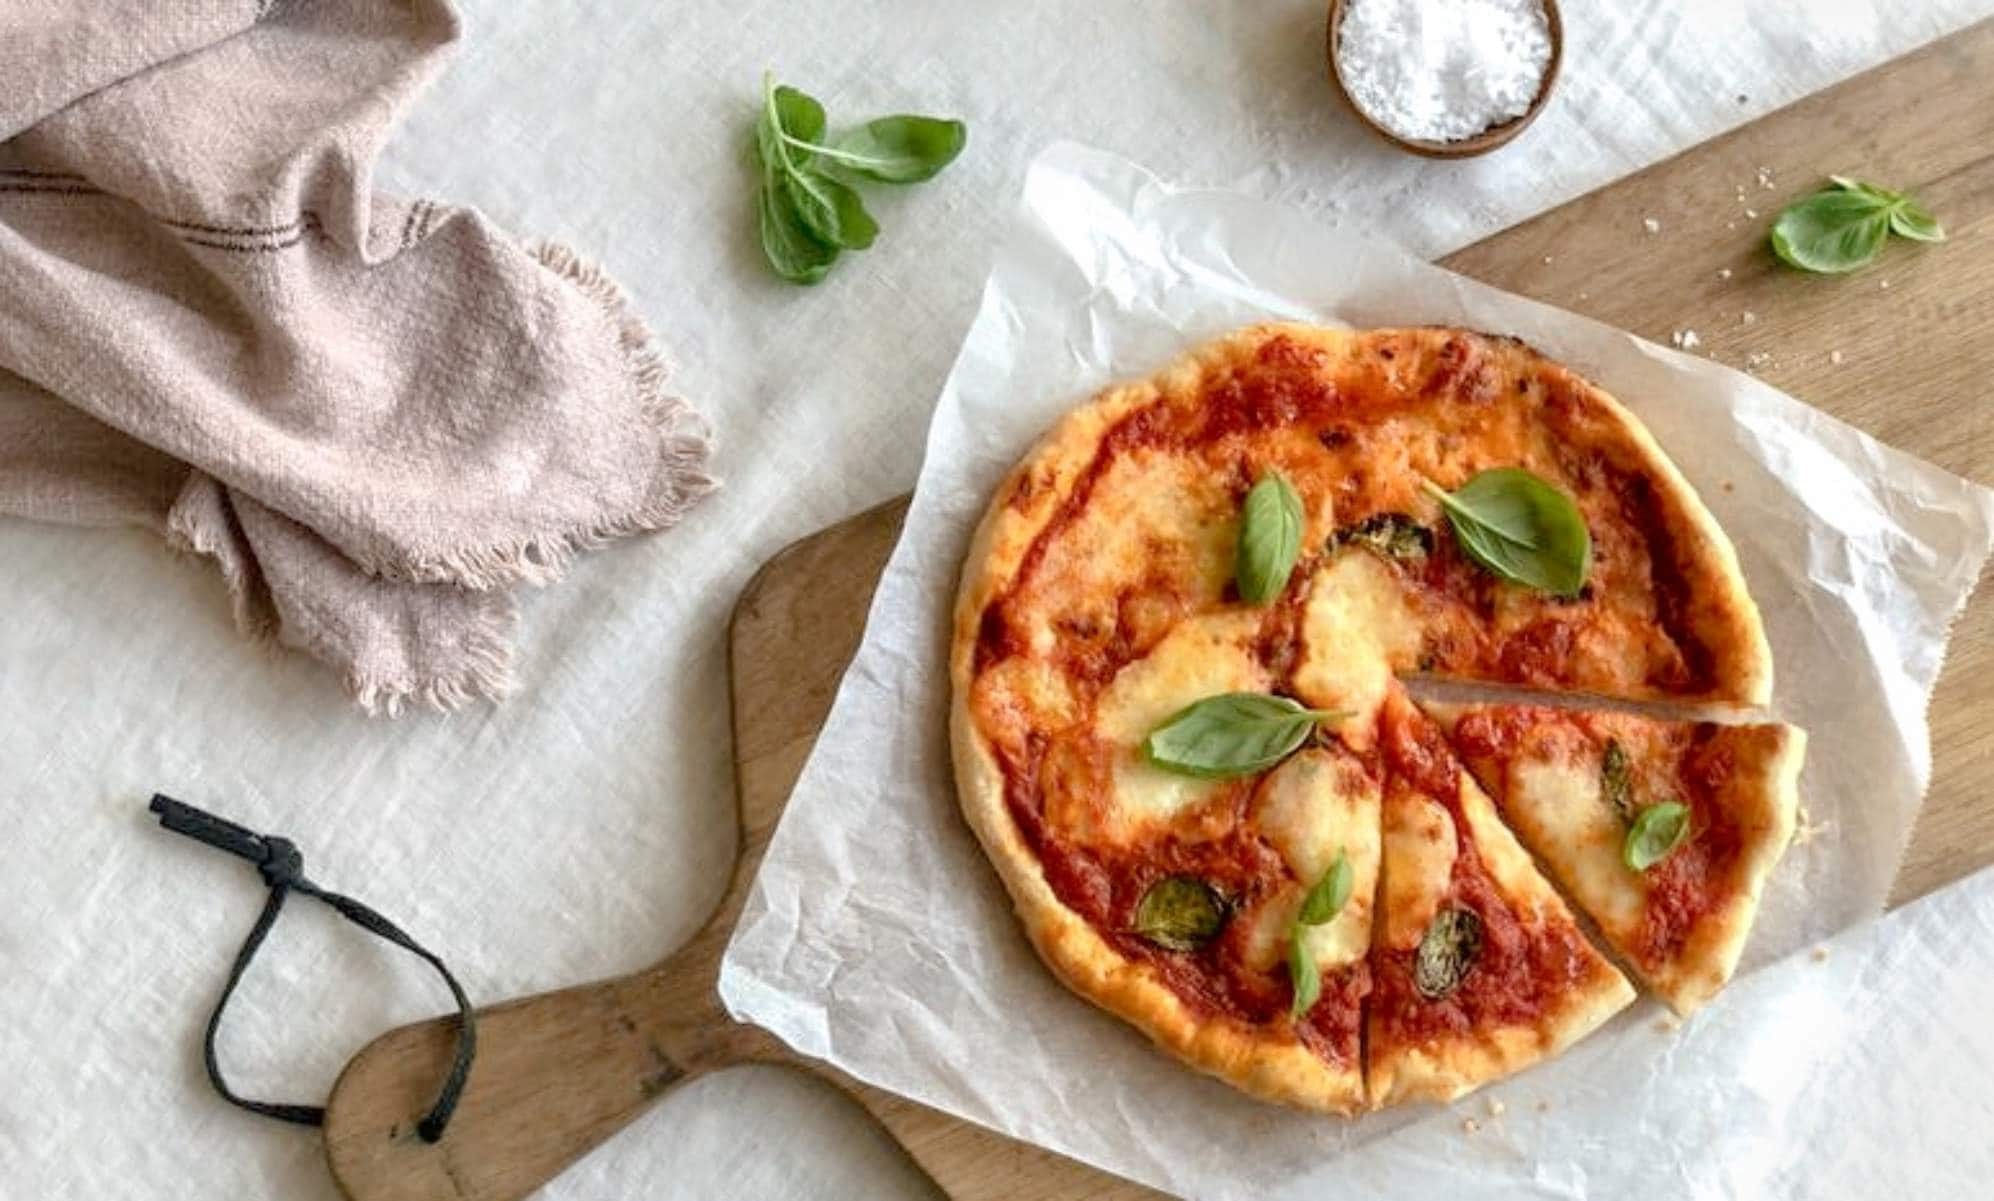
All the toppings
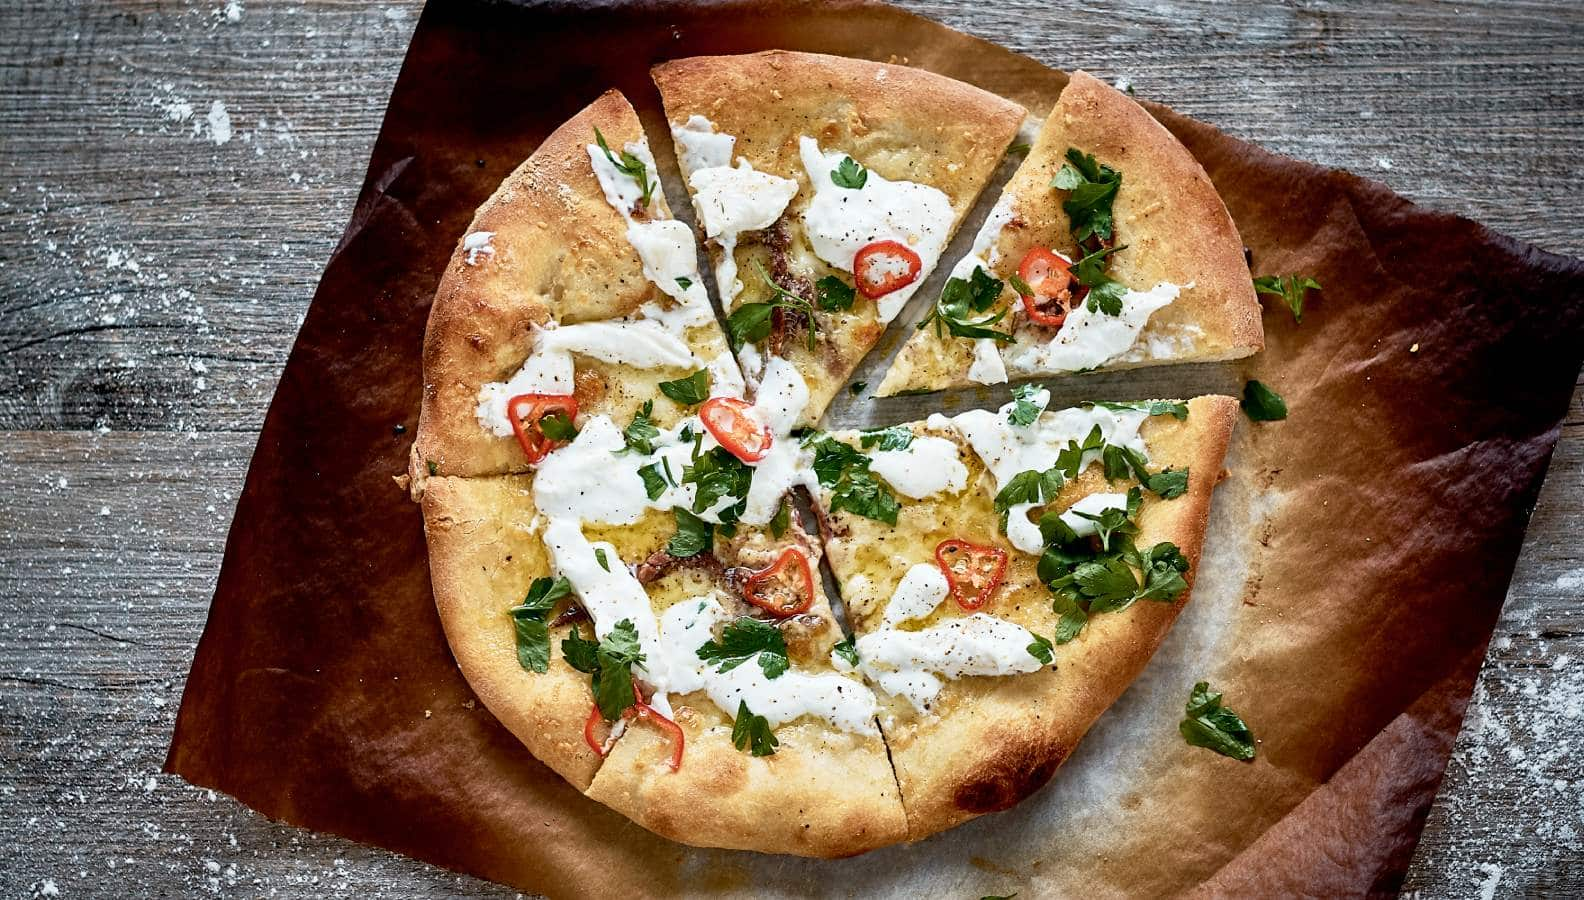
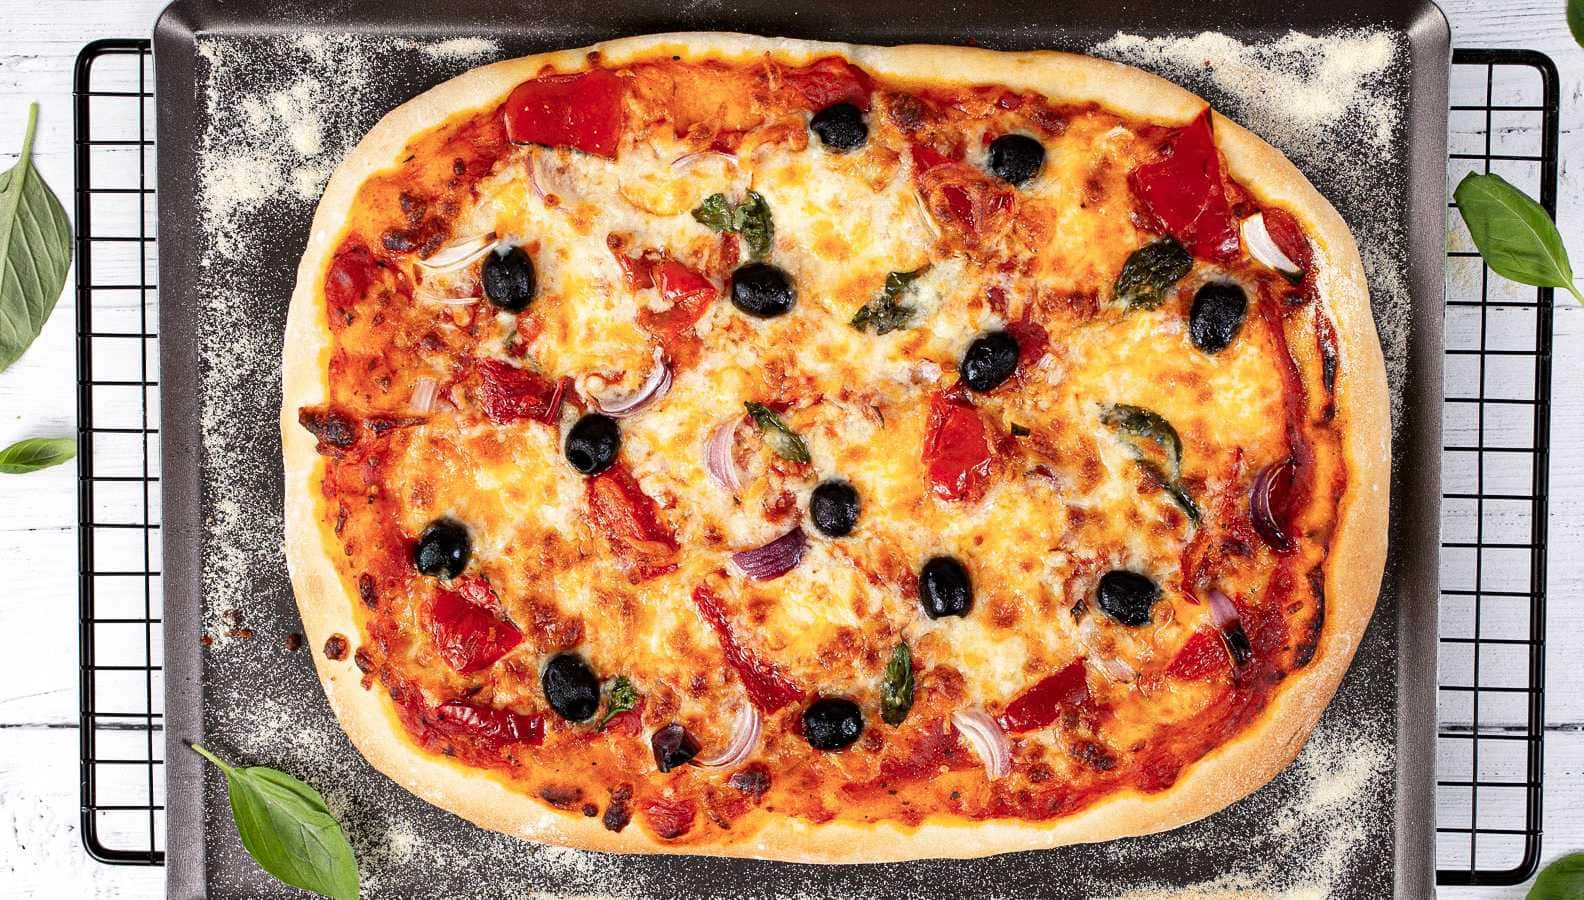
This is where you can really get creative and experiment with different flavour combinations- from a classic margherita with tomatoes, fresh mozzarella and basil, to sausage and caramelised onion, or burrata and anchovy - or maybe a veggie special topped with roasted aubergine and black olives. With plenty of plant-based cheeses available there are lots of vegan options too, or you can try using pesto, roasted butternut squash or guacamole as a base layer instead.
For a classic tomato based pizza, start by spreading some homemade tomato sauce evenly over the dough using a flat-bottomed ladle. Then sprinkle with cheese and your chosen toppings. Try to resist overloading your base and stick to just two or three toppings; too many more will create excess moisture, weighing the pizza down and preventing the crust from getting crispy. Keep it simple- in this case, less is more!
For a classic tomato based pizza, start by spreading some homemade tomato sauce evenly over the dough using a flat-bottomed ladle. Then sprinkle with cheese and your chosen toppings. Try to resist overloading your base and stick to just two or three toppings; too many more will create excess moisture, weighing the pizza down and preventing the crust from getting crispy. Keep it simple- in this case, less is more!
Turn the heat up!
To create the perfect pizza you need heat, and plenty of it. This will help you get that perfect rise, and that pizzeria style contrast between a delicious crispy base and soft and chewy interior. In a traditional wood-fired pizza oven temperatures can reach 500℃. While you can’t reach those kinds of temperatures using a conventional domestic oven, you do have to turn up the heat as high as it can go- ideally around 250℃. If you have a fan assisted oven this will help increase the overall temperature and move the hot air around the oven.
Preheating the oven before cooking your pizza is essential- don’t be tempted to put your pizza in until the oven is ready. And as with most baking, never open the oven to check on the pizza once it’s in. Each time you open the door the oven loses a significant amount of heat, so your pizza won't cook properly.
Investing in a pizza stone will also really help you to up your pizza game. They work by conducting and retaining heat, recreating the hot brick base of a classic pizza oven. They also absorb moisture, so will help you get a wonderfully crispy base. Make sure you preheat them in the oven first, so the stone heats up as the oven does.
Making the perfect pizza
Ready to turn your kitchen into your very own pizzeria? Our step by step recipe for a classic Neapolitan-style thin crust pizza shows you just how easy it is to make the dough, using only a handful of basic store cupboard ingredients and your stand mixers. Buon appetito!