Fancy creating delicious tasting, authentic pizza at home? We’ll show you just how simple it is to make dough using your stand mixer and produce a classic thin crust pizza that tastes like it's come straight out of Naples. From tips on how to prove and knead your dough to the ideal cooking temperatures and topping choices, we’ll help you bring a taste of Italy into your home.
Making perfect pizza at home is quick and simple, and a great thing to do with kids or a group of friends. Once you’ve mastered the techniques and processes involved you can really have fun with it, experimenting with different crust thicknesses and shapes and of course, toppings and flavour combinations. You can even adapt the basic pizza dough recipe to create a stunning dessert; this gluten free winter berry pizza is a real showstopper.
So whether you like them thin and crispy or chewy deep dish style, favour classic toppings like those used in this rustic pizza recipe or something a bit more adventurous, these tips will help you make delicious pizza at home, from scratch.
Our step by step recipe for a classic thin crust pizza dough will show you just how easy it is to make using your stand mixer. And the great thing is you can make the dough in advance, and even freeze it, so you can cook one up whenever you fancy. Even if they come out looking a bit misshapen as your perfect your shaping technique, we promise they will taste incredible- you’ll never want to order in again.
Yeast tips
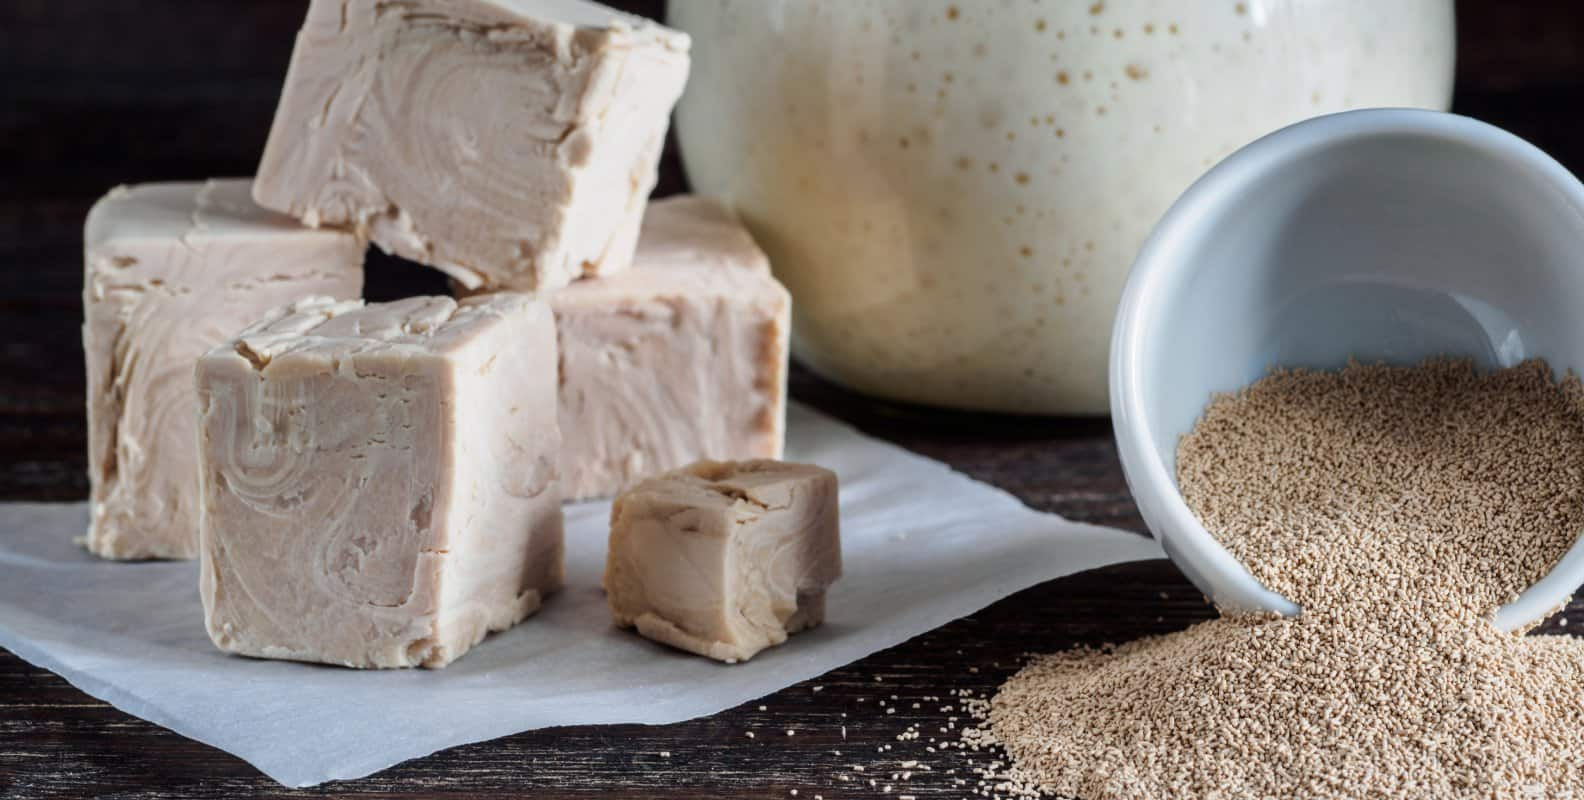
Yeast is a living organism that acts as a leavening agent. In the correct environment it will grow and multiply, releasing bubbles of carbon dioxide as it ferments and causing the dough to increase in volume as it rises. As well as giving the pizza a light, airy texture, the fermentation process also adds deeper, more complex flavours to your dough, giving your base that authentic pizzeria style tang.
Before you start making your dough, it is always worth checking if your yeast is still active, as if it isn’t, your pizza dough may not rise. Firstly, check your yeast’s expiration date and discard it if it is past its use by date. Even if it is in date you should still make a habit of proofing, or testing, your yeast before adding it to the rest of your ingredients. To do this, add the yeast to a small bowl of lukewarm water, along with a pinch of sugar and stir until combined. Leave for five to ten minutes. If the yeast is active the mixture will begin to bubble and foam, which it’s fine to use. If the mixture does nothing your yeast is stale and you shouldn’t use it.
When using yeast make sure you follow the recipe closely and add as much as is specified. Too little yeast and your dough won’t rise enough, and the pizza base will taste bland. Use too much yeast and your dough may over-ferment. Tell-tale signs are your dough expanding too much or tasting and smelling a bit sour, with an almost alcoholic aftertaste (the yeast produces alcohol as it ferments).
Proving is key
Proving your pizza dough is when you allow it to rest and rise before baking it, letting the yeast work its magic. This stage is vital for developing not only a fuller-flavoured base, but also a better interior structure.
Ideally, your dough should be left to prove in a bowl covered with a clean tea towel at room temperature, in a draught- free spot. If the room is very warm the yeast will work quicker and the dough will take less time to rise, while if the room is cooler you may need to give the dough more time than the recipe suggests- you’re looking for it to double in size. But be careful not to leave your dough to prove for too long. Not only will the flavour be affected (the yeast will convert all the sugar in the dough into alcohol, and it will taste sour), but the structure will be compromised, leaving it more likely to collapse and resulting in a really dense and floppy end product.
Jeśli masz Titanium Chef Patissier XL lub Cooking Chef XL, skorzystaj z automatycznego programu wyrastanie ciasta, który ustawi podgrzewanie misy do optymalnej temperatury, a nawet poinformuje Cię, kiedy będzie gotowe.
Nie przesadź z wyrabianiem ciasta
Wyrabianie ciasta ma na celu jego napowietrzenie, a w efekcie rozwinięcie siatki glutenowej, dzięki czemu zyska elastyczną strukturę.
Jeśli robisz to ręcznie, przełóż ciasto na lekko posypany mąką blat lub stolnicę i dolną częścią dłoni zacznij je naciskać oraz wałkować na całej powierzchni. Następnie zbierz ciasto do środka i zacznij od nowa, powtarzając cały proces, aż ciasto będzie gładkie i rozciągliwe oraz utrzyma swój kształt. Uważaj, aby nie wyrabiać go zbyt długo, bo może stać się twarde i kruche. Wystarczy pracować z nim około 5 minut.
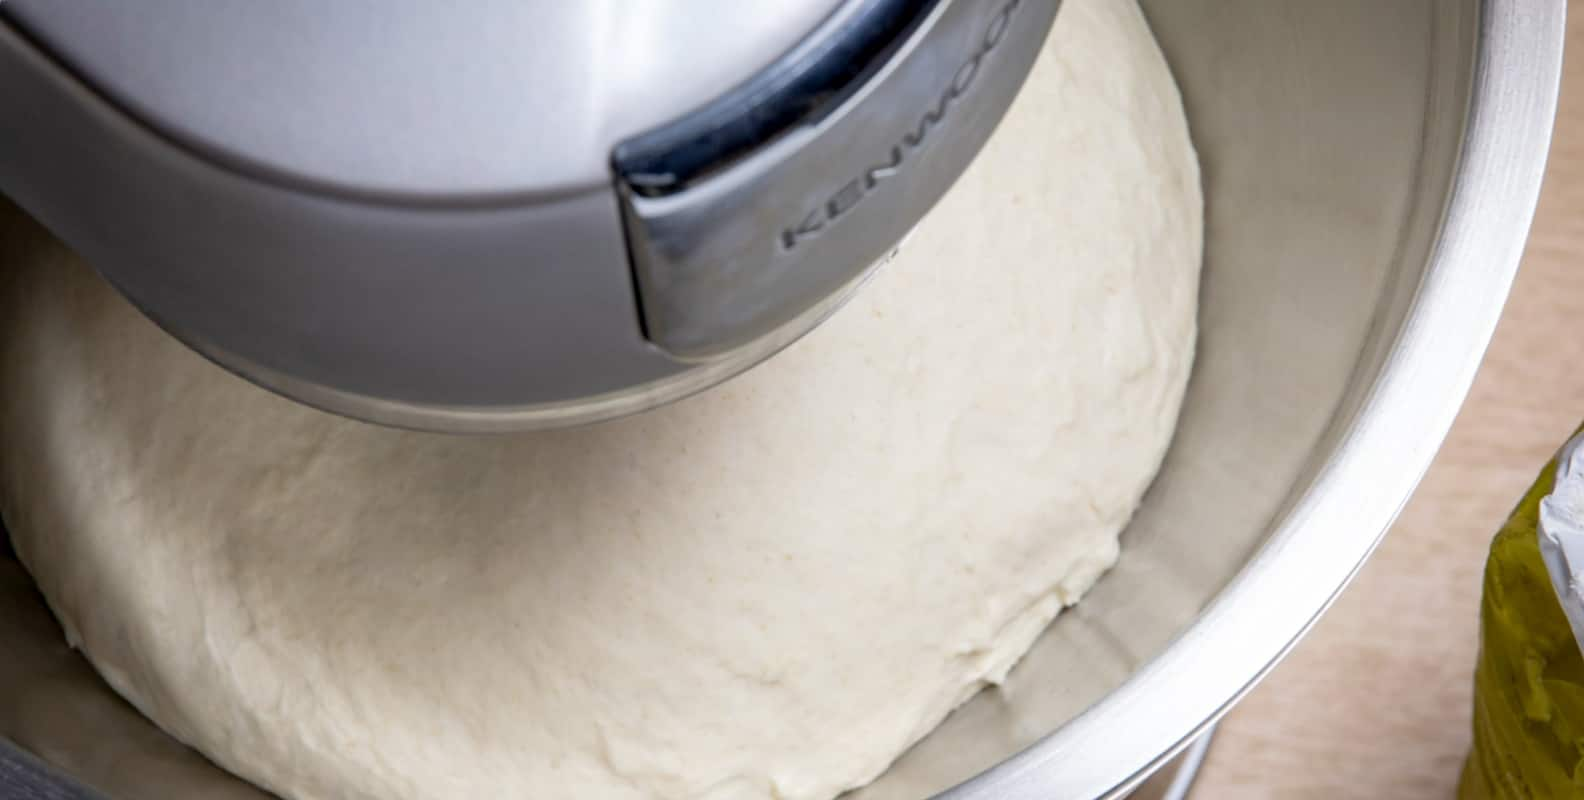
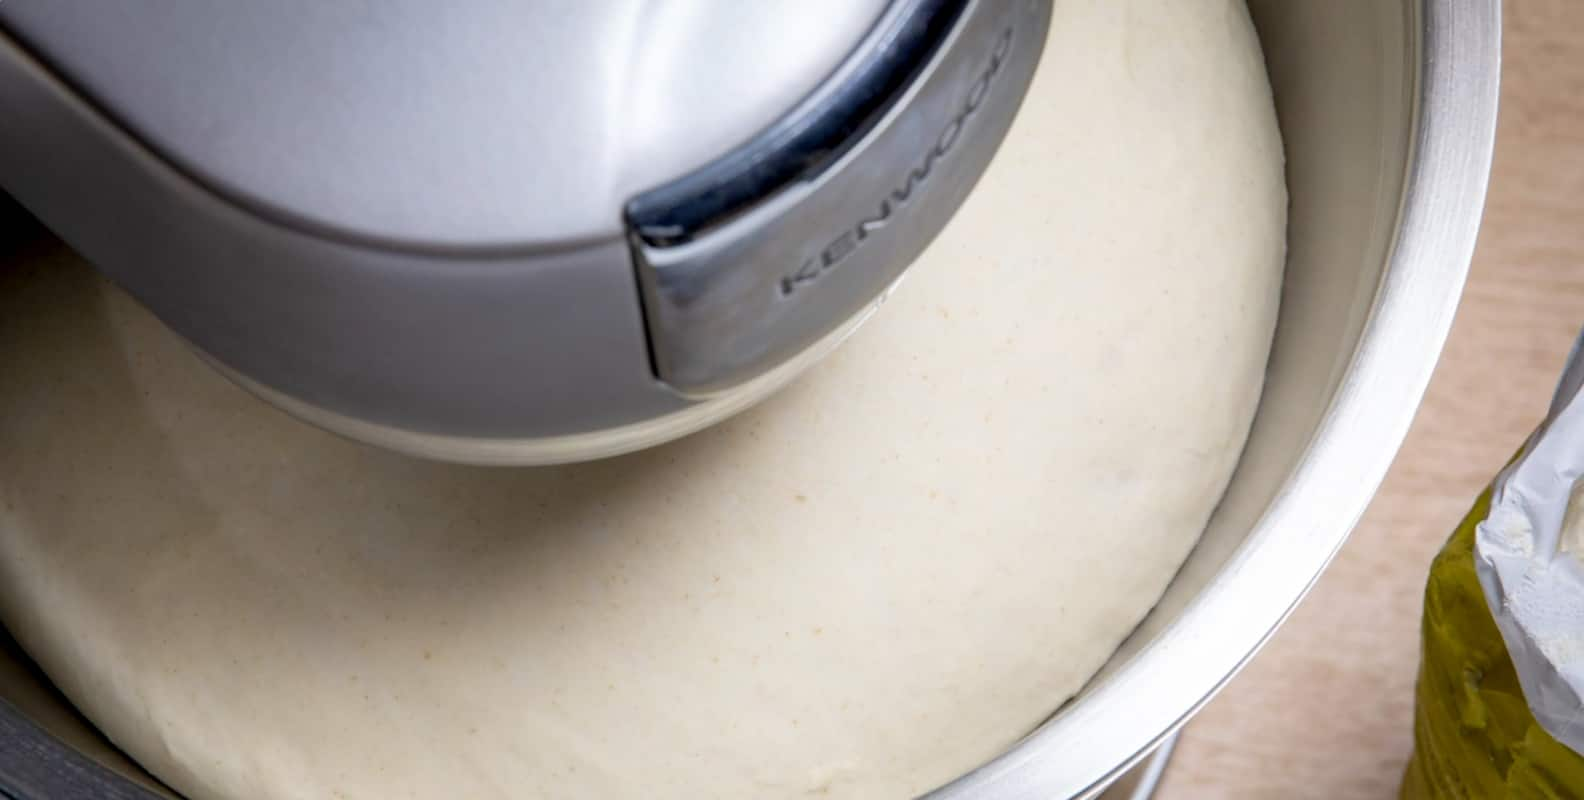
Twój robot planetarny Kenwood będzie bardzo pomocny przy wyrabianiu ciasta na pizzę. Wyręczy Cię w tym zadaniu, dzięki czemu możesz zając się czymś innym, podczas gdy urządzenie wykona całą ciężką pracę. Wszystkie nasze roboty planetarne są standardowo wyposażone w specjalnie zaprojektowany, spiralny hak do zagniatania ciasta, który z powodzeniem naśladuje ręczne zagniatanie i podnosi bez trudu ciężkie masy. Cooking Chef XL został nawet wyposażony w automatyczny program zagniatania ciasta. Wystarczy, że dodasz składniki do misy i pozwolisz maszynie zająć się resztą. Aby sprawdzić, czy ciasto jest wystarczająco zagniecione, wciśnij w nie palec – powinno szybko wrócić do swojej formy.
Możesz też przeprowadzić test szyby. Oderwij odrobinę ciasta i delikatnie rozciągnij między palcami. Jeśli uda Ci się je rozciągnąć bardzo cienko – do tego stopnia, że możesz prawie przez nie patrzeć bez rozrywania go, jest gotowe.
Jak uniknąć lepkiego ciasta?
Idealne ciasto na pizzę jest sprężyste, elastyczne i nieco lepkie. Jednak jeśli Twoje ciasto wyjdzie mokre, może okazać się zbyt lepkie, co utrudni pracę z nim i spowoduje zabrudzenia kuchni.
Dobrą wiadomością jest to, że bardziej wilgotne ciasto ugotuje się lepiej niż to, które jest zbyt suche. Aby ułatwić sobie zagniatanie, nałóż na dłonie odrobinę oliwy z oliwek lub posyp ciasto niewielką ilością mąki (ale nie za dużo, w przeciwnym razie możesz je wysuszyć). Warto naoliwić także miskę, w której ciasto będzie wyrastało, co zapobiegnie jego przywieraniu. Posyp również powierzchnię roboczą i wałek mąką. Możesz też oprószyć nią blachę do pieczenia lub kamień przed umieszczeniem na nich pizzy – w tym celu świetnie sprawdzi się semolina.
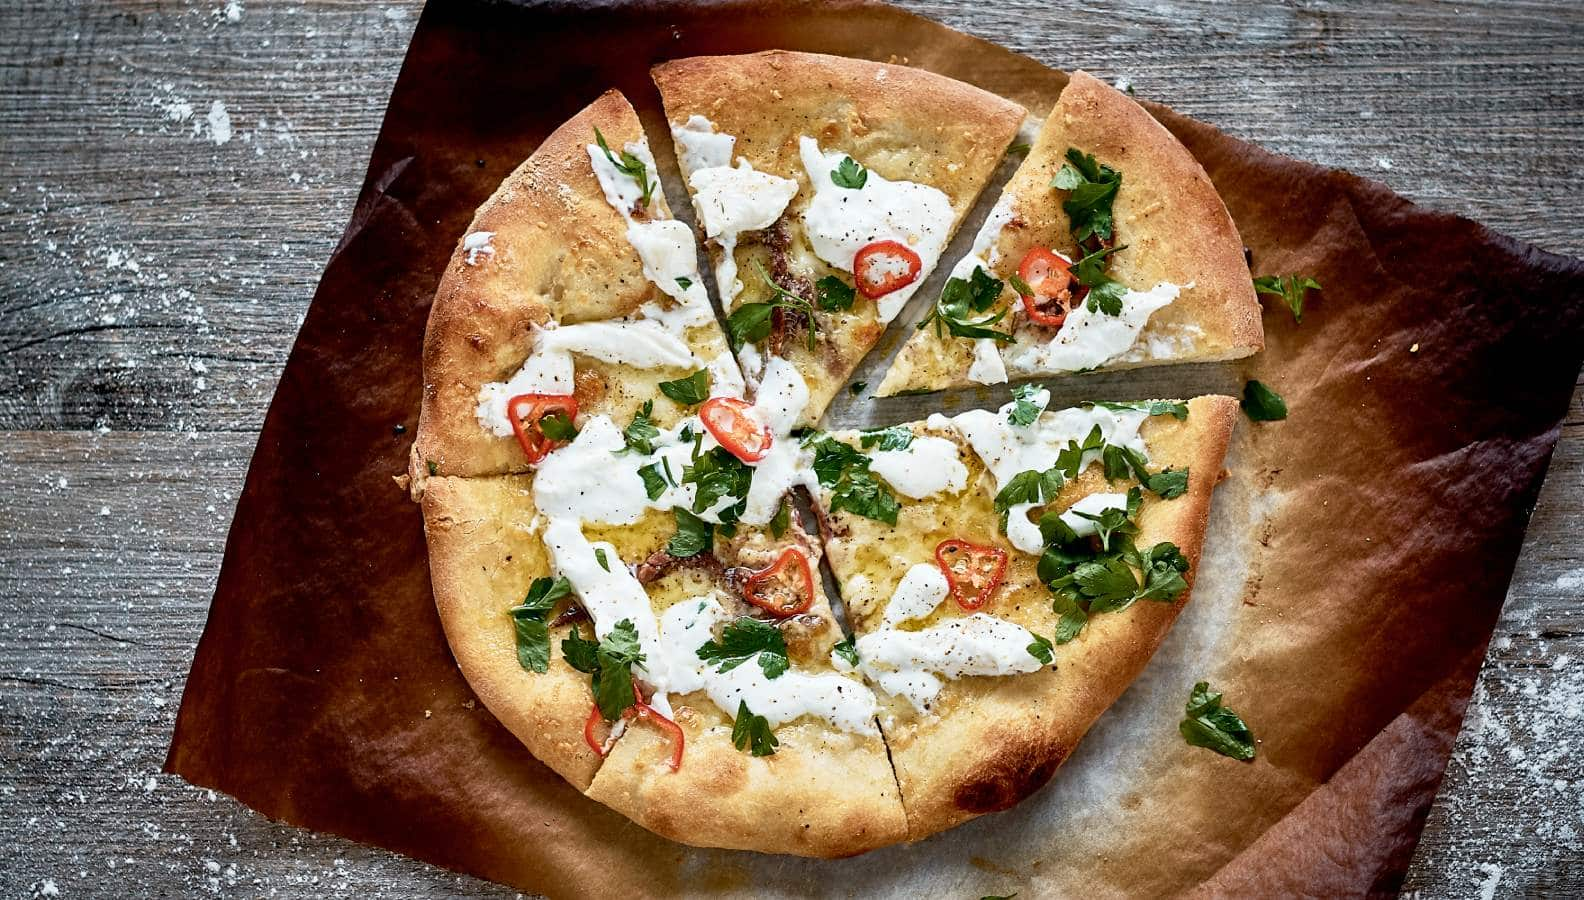
Dodatki na okrągło
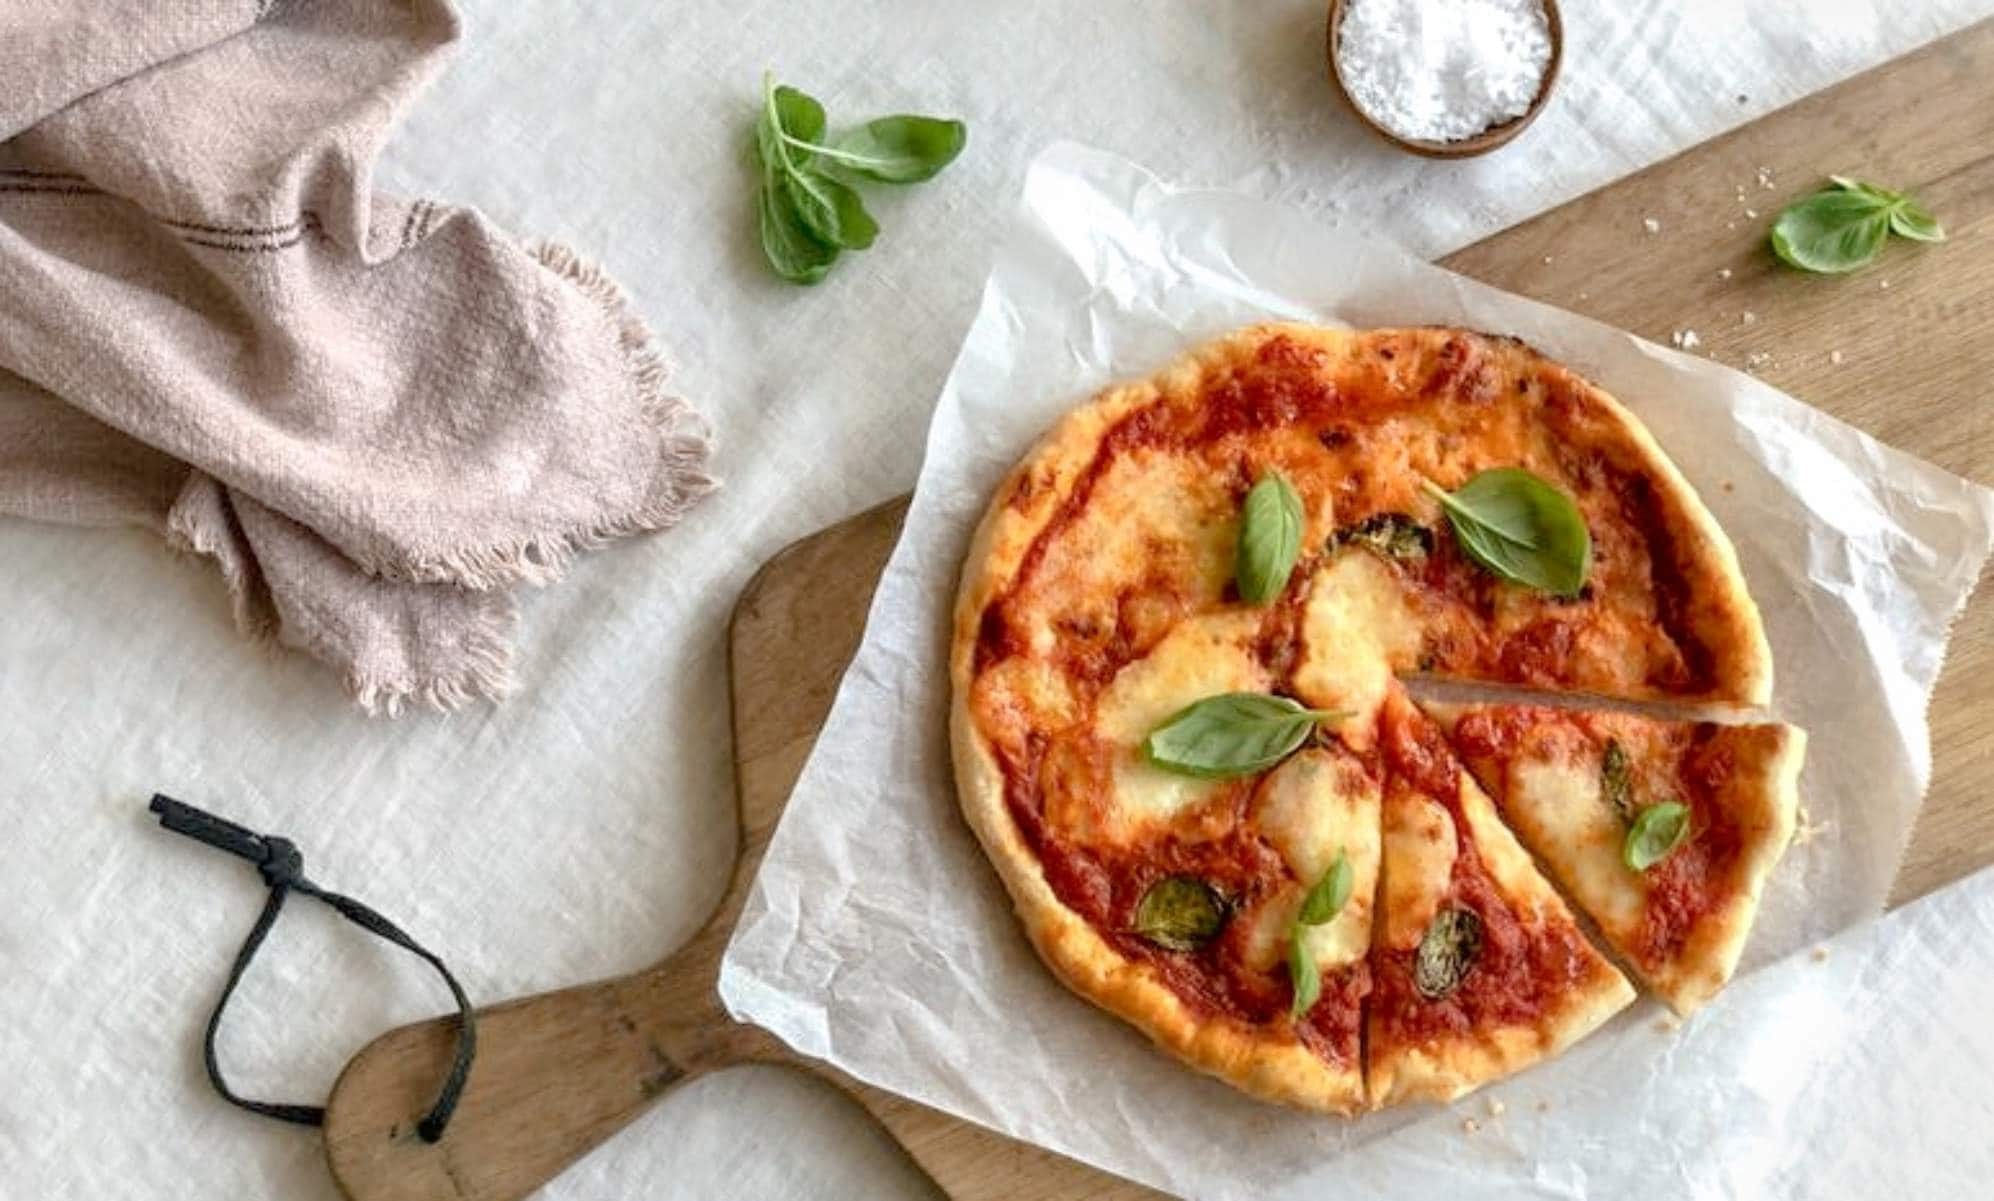
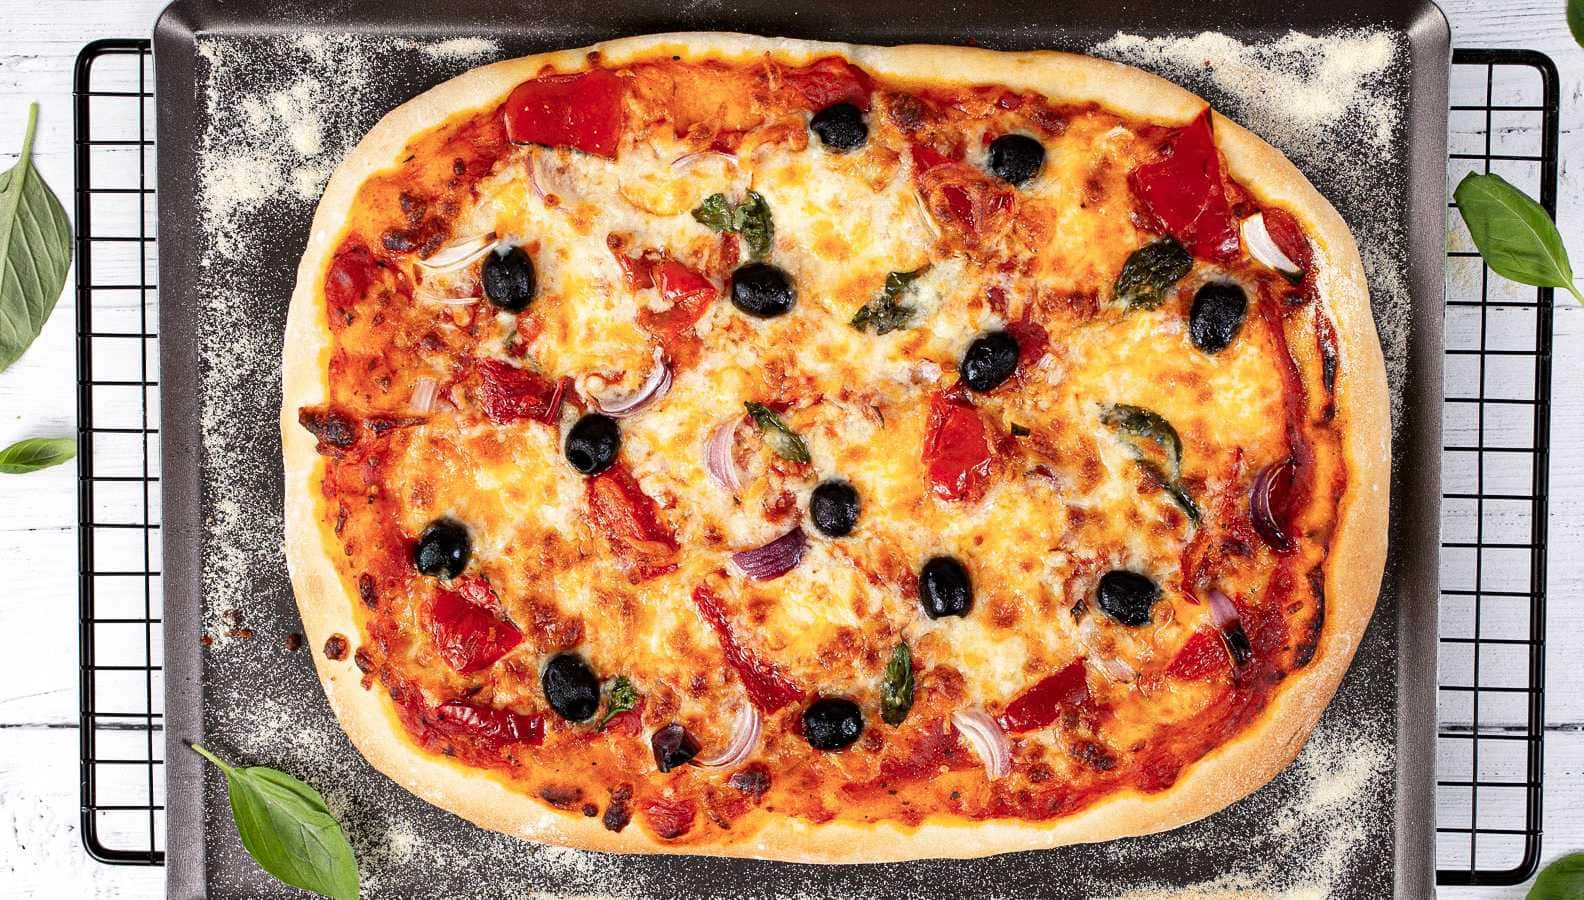
Przy komponowaniu dodatków do swojej pizzy możesz wykazać się kreatywnością i eksperymentować z różnymi kombinacjami – od klasycznej margherity z pomidorami, mozzarellą i świeżą bazylią, po propozycje z innymi włoskimi wędlinami, np. prosciutto crudo czy cotto, salsiccię, nduję lub polskimi wyrobami (najlepiej swojskimi), aż po ulubione warzywa (świeże, pieczone lub karmelizowane), ryby oraz sery – w tym obłędną burratę. Zarówno w wersjach mięsnych, jak i wegetariańskich możesz zamienić tradycyjny sos pomidorowy np. na pesto z ulubionych składników.
W przypadku klasycznej pizzy zacznij od równomiernego rozprowadzenia domowego sosu pomidorowego na cieście. Następnie posyp je serem i ułóż wybrane dodatki. Staraj się nie przesadzić z ich liczbą, aby nie przeciążyć pizzy. Nadmiar składników sprawi, ze całość będzie zbyt wilgotna i ciasto straci chrupkość. Postaw na prostotę, w przypadku włoskiej kuchni – mniej znaczy więcej!
Podkręć temperaturę!
Perfekcyjna pizza potrzebuje wysokiej temperatury. Odpowiada za prawidłowy wzrost ciasta i połączenie chrupkości rantów z delikatniejszym, miękkim środkiem. W tradycyjnym piecu do pizzy opalanym drewnem temperatura może osiągnąć 500°C. Chociaż nie można osiągnąć tak wysokich temperatur za pomocą konwencjonalnego domowego piekarnika, możesz użyć najwyższej możliwej – najlepiej do ok. 250°C. Warto korzystać z termoobiegu, który pozwoli równomiernie rozprowadzić ciepło we wnętrzu piekarnika.
Niezbędne jest też wcześniejsze nagrzanie piekarnika – nie ulegaj pokusie, aby włożyć do niego pizzę, dopóki nie osiągnie pożądanej temperatury. I tak, jak w przypadku większości wypieków, nigdy nie otwieraj piekarnika zanim pizza nie będzie gotowa. Za każdym razem, gdy otwierasz drzwiczki, piekarnik traci znaczną ilość ciepła, więc Twoja pizza może nie upiec się prawidłowo.
Jeśli planujesz częściej robić domową pizzę, warto zainwestować w specjalny kamień do jej wypiekania. Jest tak skonstruowany, aby przewodzić i zatrzymywać ciepło, zastępując gorącą, ceglaną podstawę klasycznego pieca opalanego drewnem. Pochłania również wilgoć, dzięki czemu można uzyskać cudownie chrupiący spód. Przed użyciem kamień należy rozgrzać w piekarniku.
Zamień swoją kuchnię we włoską trattorię!
Mamy nadzieję, że nasze wskazówki zainspirują Cię do aromatycznych eksperymentów rodem z profesjonalnej pizzerii. Nasz przepis na klasyczną pizzę z w stylu neapolitańskim pokazuje, jak łatwo zrobić perfekcyjne ciasto w robocie planetarnym, z kilku podstawowych składników, które często masz w domu. Buon appetito!