Our simple step by step guide to making your own sourdough starter and using it to bake everyone's favourite loaf. Once you’ve made your starter mixture you’ll be able to use it to bake with whenever you like; just follow our tips for maintaining it and you’ll never look back.
How to make sourdough
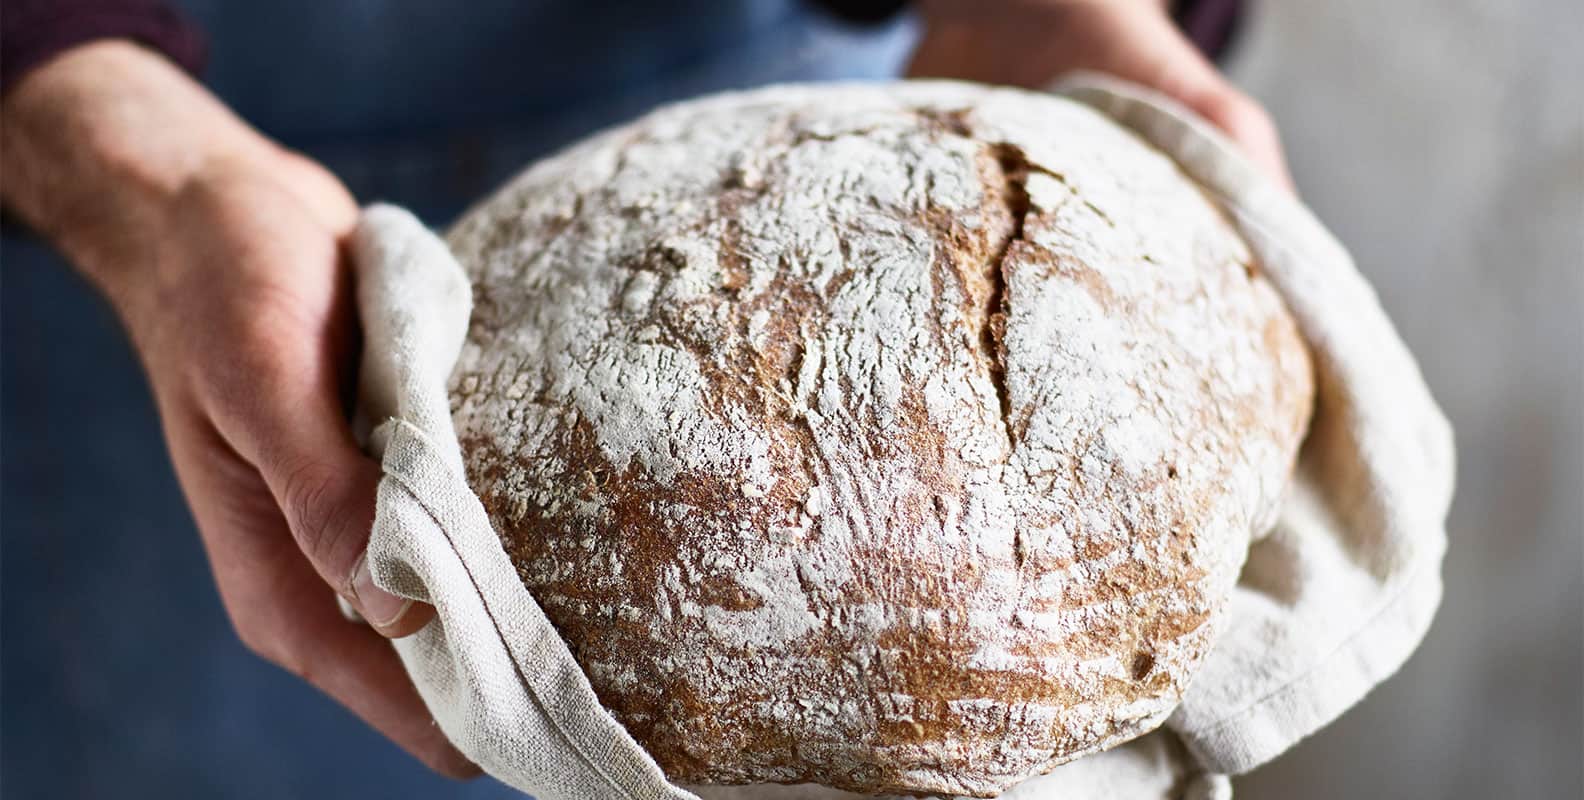
The popularity of sourdough has been on the rise in recent years, as more people choose to shun commercial sliced bread in favour of these flavoursome artisan loaves. But there’s nothing new about sourdough; in fact it’s one of the oldest forms of leavened bread. What makes sourdough different from many other breads is that it isn’t made using conventional yeast, but with a fermented starter made from flour and water over the course of several days. It’s this that gives sourdough its soft and chewy open crumb and distinctive sour tang.
The long fermentation means that sourdough is easier to digest than bread made with baker’s yeast, and has much less gluten. The fermentation process is also thought to make sourdough a more nutritious choice than other conventional breads, because it breaks down the naturally occurring phytic acid in the grains and makes the fibre and minerals in the bread easier for us to absorb.
But let’s face it, the real reason we all love sourdough so much is simply because it tastes so good. This step by step guide will show you how to make your own sourdough starter, and then use it to bake your own sourdough loaf. We’ll also share tips and tricks for feeding and maintaining your starter, and how to score your loaf for that truly professional finish.
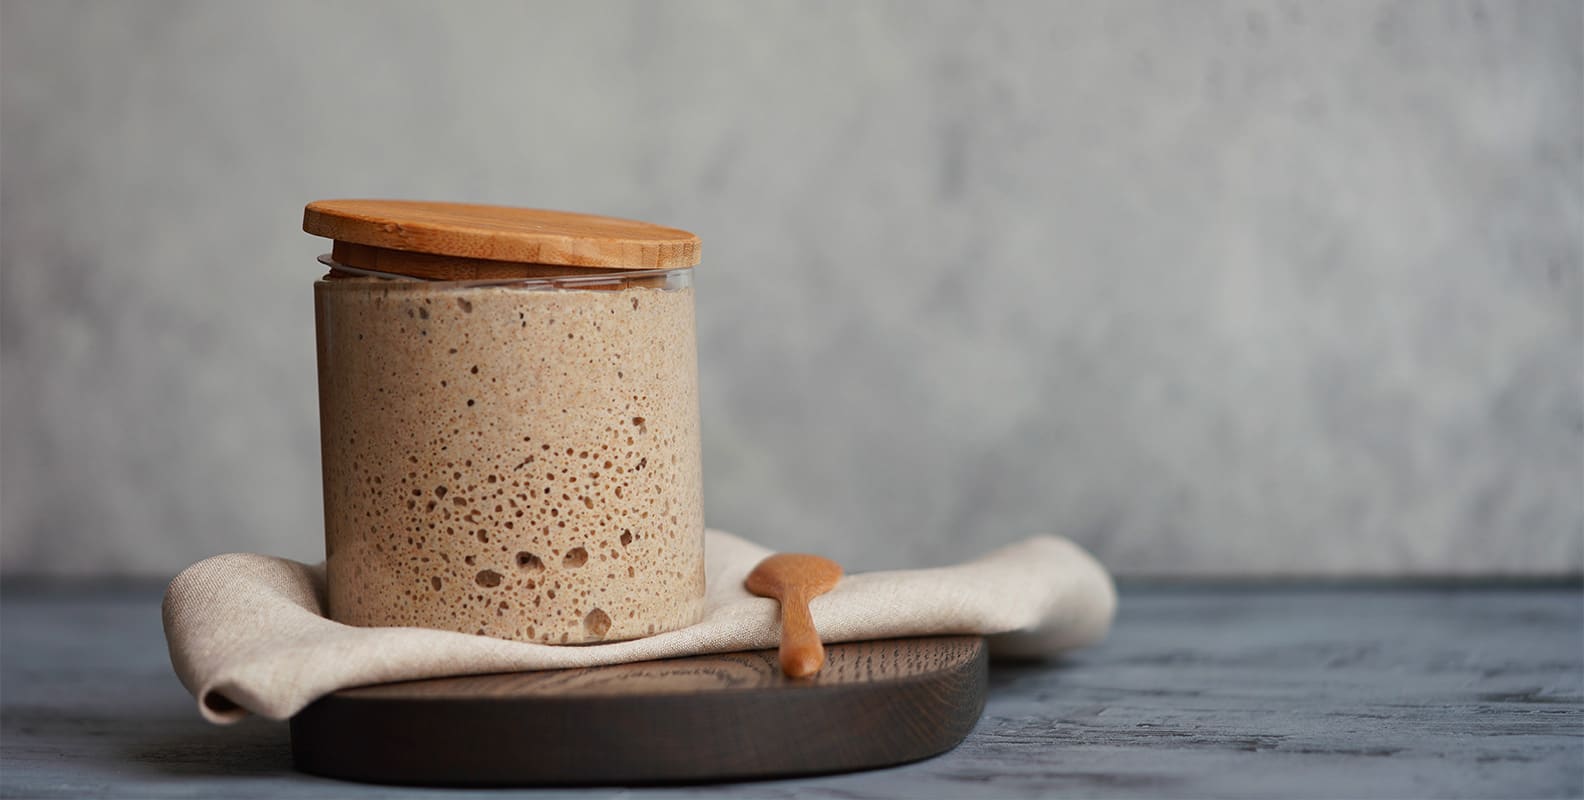
What is a sourdough starter?
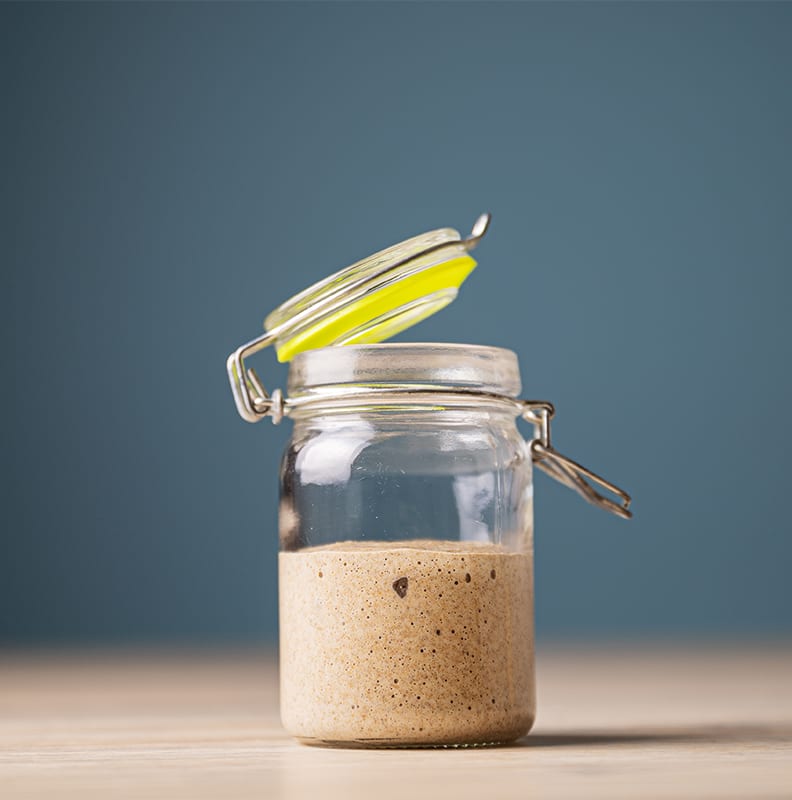
A sourdough starter is simply a mix of flour and water, which, with a bit of time and patience, will begin to naturally ferment as the wild yeast found in the flour starts to activate and multiply. Over the course of about five days and with regular ‘feeds’ of fresh flour and water, the starter becomes a homemade raising agent. As it begins to ferment it will form bubbles at the surface, increase in size and give off a slightly tangy, almost acidic smell. Once it’s ready it can then be used to make a sourdough loaf, rolls or pizza dough.
Essentially your starter does the job of conventional packet yeast. Yes, it takes time to make and needs a bit of attention, but once it’s done you can use it again and again, as long as you keep feeding it. And we promise the delicious results make all the effort worth it- good things really do come to those that wait.
Making your starter
Here’s an easy to follow guide for making, and maintaining, your sourdough starter. If you’re new to making sourdough we recommend using organic strong white bread flour, which due to its fine texture and high protein levels will help encourage a strong gluten development and give your bake a good rise. But you can experiment using rye, wholemeal, spelt or a 50/50 blend of two different flours; just remember that different flours will work differently and yield different results, and your starter may develop at a different rate depending on which you use. You will also need a clear jar or plastic container that is large enough to allow your mixture to double in size.
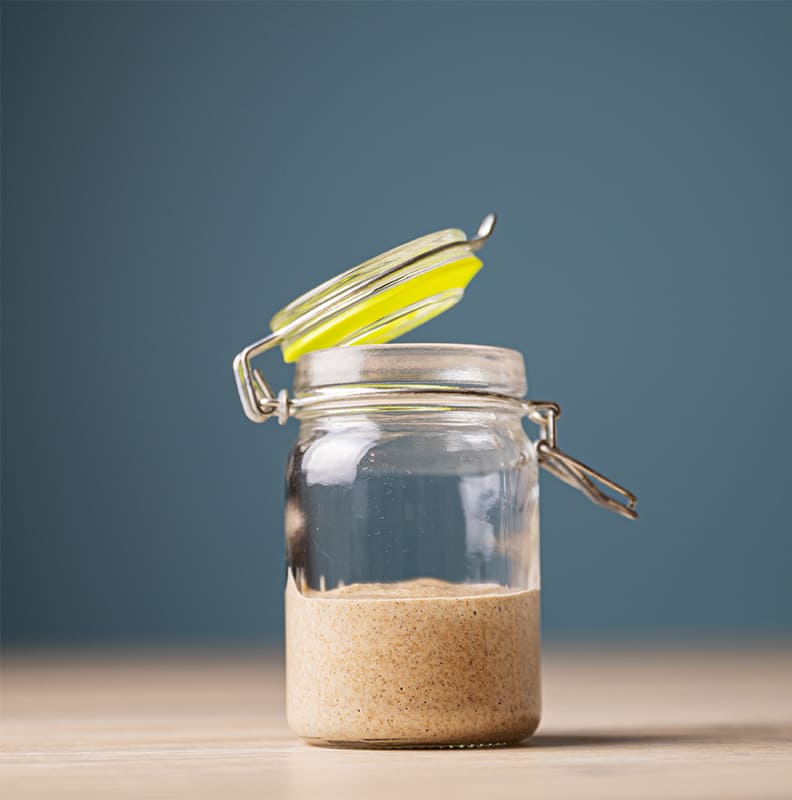
Day 1: Mix 50g flour and 50g tepid water in your transparent container, ensuring there are no dry lumps of flour left. Mark the level of the mixture on the outside of the container so you can keep an eye on whether it is rising. Leave semi-covered (using a lid or clean cloth) at room temperature for 24 hours.
Day 2: Mix 50g flour with 50g tepid water and add to the mixture, stirring well to ensure it is all combined. As before, cover loosely and leave for 24 hours at room temperature.
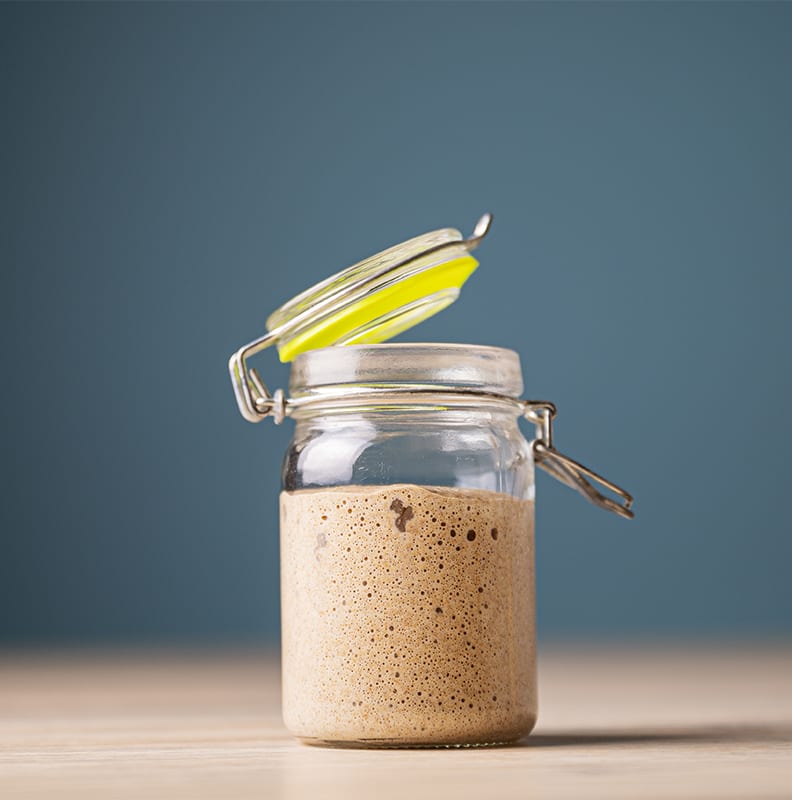
Day 3: You should now start to see signs of fermentation. Look for small bubbles forming on the surface of the mixture, or down the sides of the container. Your mixture may have risen and should now be giving off a stronger smell. Stir a mixture of 50g flour and 50g tepid water into the original starter mix, ensuring all the flour is incorporated. Leave semi-covered at room temperature for another 24 hrs
Day 4: Your starter should continue to show signs of activity. As before, feed your starter with a mix of 50g flour and 50g tepid water, making sure it is all combined. Leave semi-uncovered in a warm, sheltered spot for another 24 hrs.
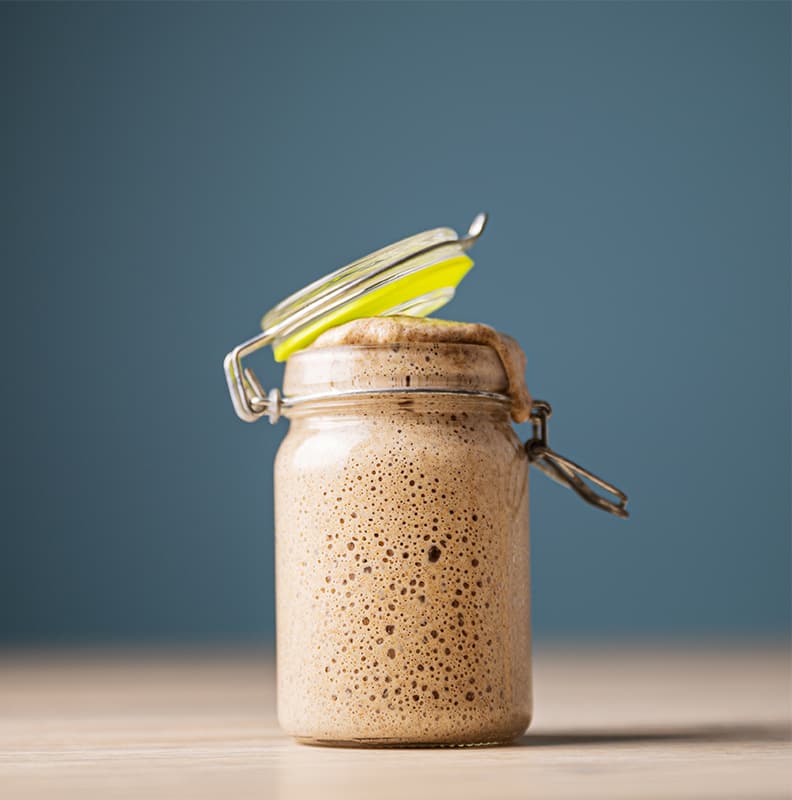
Day 5: By now your starter should be producing an acidic tangy smell, almost like natural yoghurt, and have plenty of bubbles on the surface. It should also have doubled in size. If it has consistently been showing signs of fermentation 24 hours after being fed, it is now ready to use.
If your starter is not yet showing signs of activity, continue to feed it every day, as described in the previous steps.
Day 6: Keep your starter in the fridge until you want to use it. Take it out of the fridge 24 hours before you plan to bake with it. Discard half of it and feed it with a mix of 100g flour and 100g tepid water. Leave it out for 24 hours so it can reactivate. You should see bubbles forming again. To check if your starter is ready to use, drop a teaspoon of the mixture in warm water- it should float.
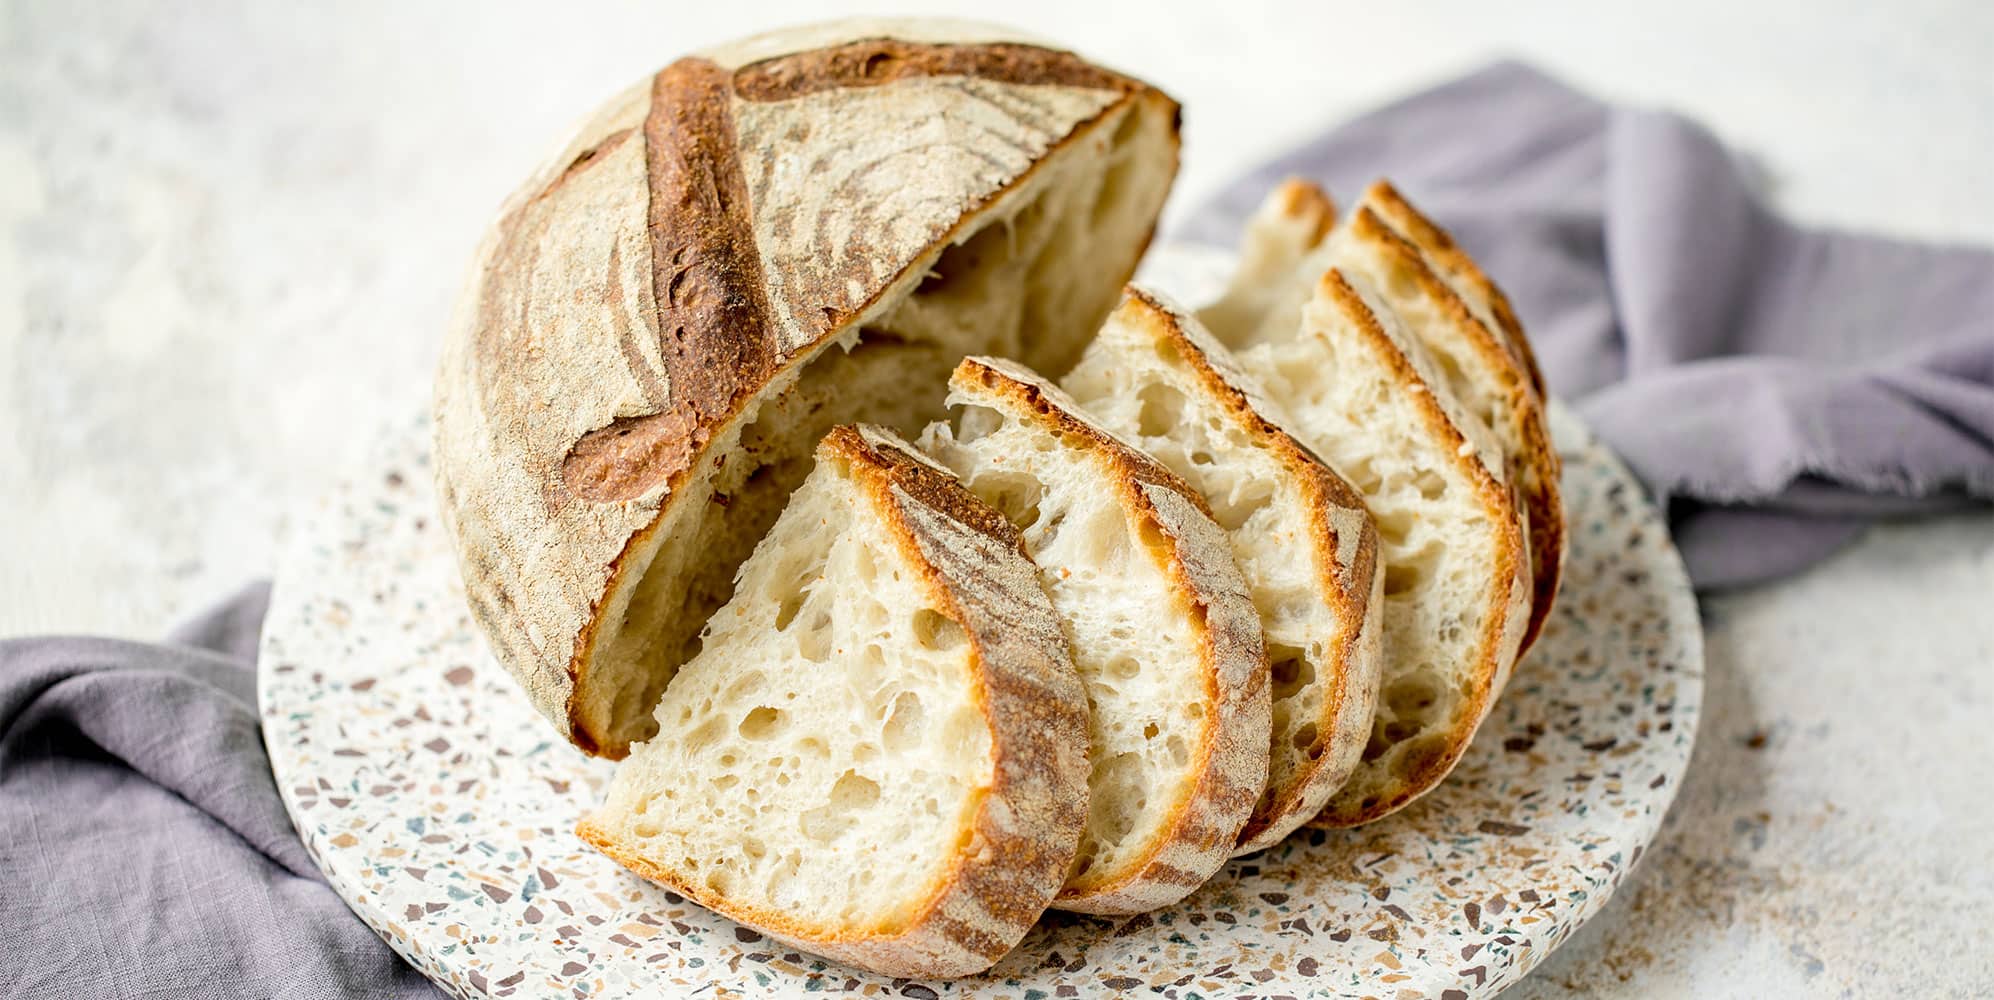
Sourdough bread
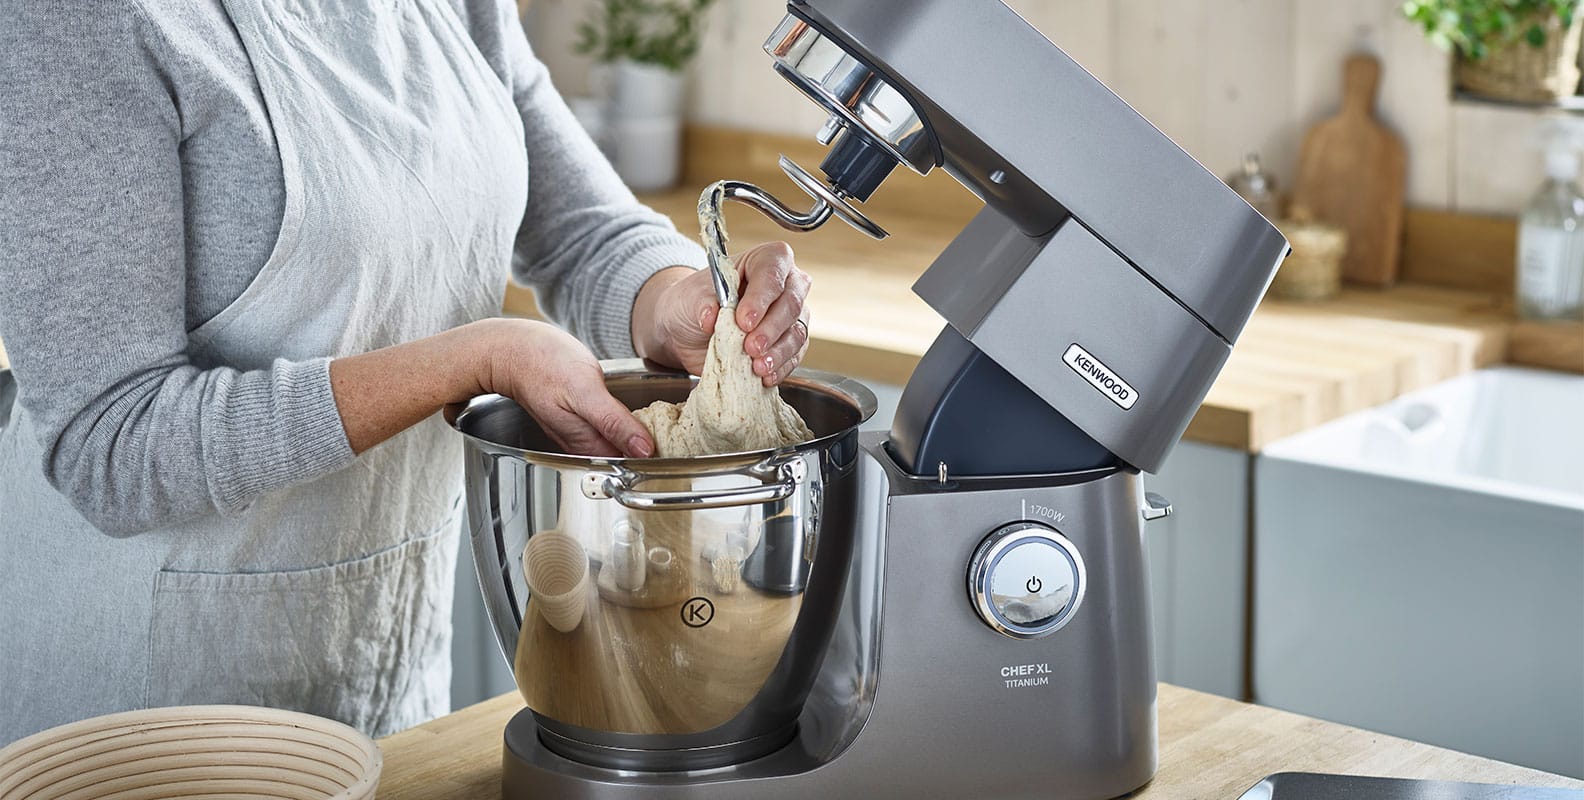
Once your starter is made, it’s ready to use in sourdough recipes. To make a delicious sourdough loaf all you need to do is mix some of it with water, flour and salt. This recipe shows you how, with the help of your stand mixer.
When making sourdough the kneading stage is really important, as it's this process which encourages the gluten to develop and hold the dough together. As the mixture is being kneaded the dough’s consistency will begin to change, becoming smoother and more elastic. Using your stand mixer’s dough tool will take all the elbow grease out of this process, making it pretty much effortless- not to mention a lot quicker than if you were to do it by hand.
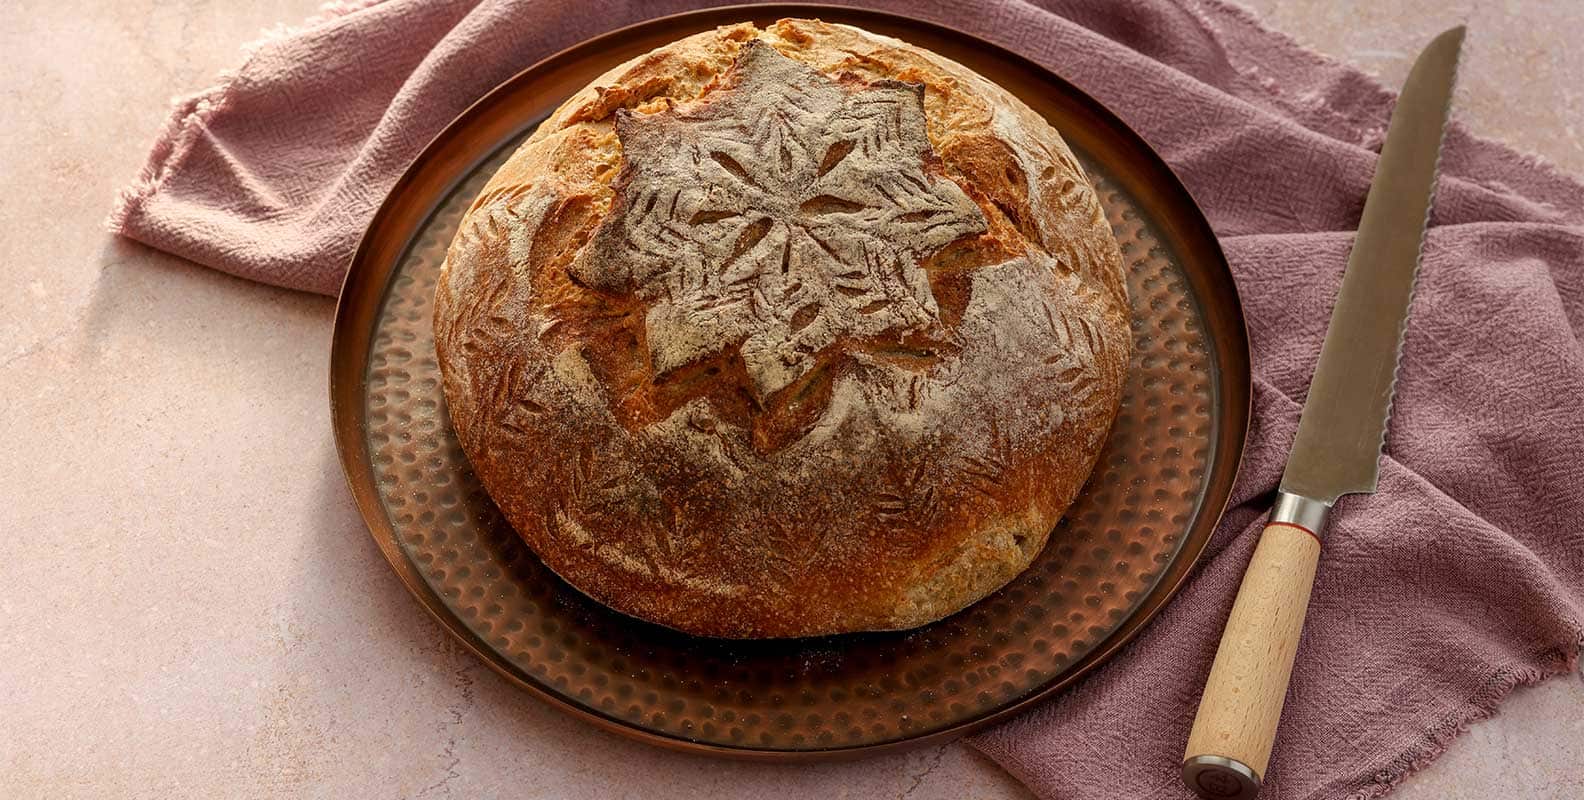
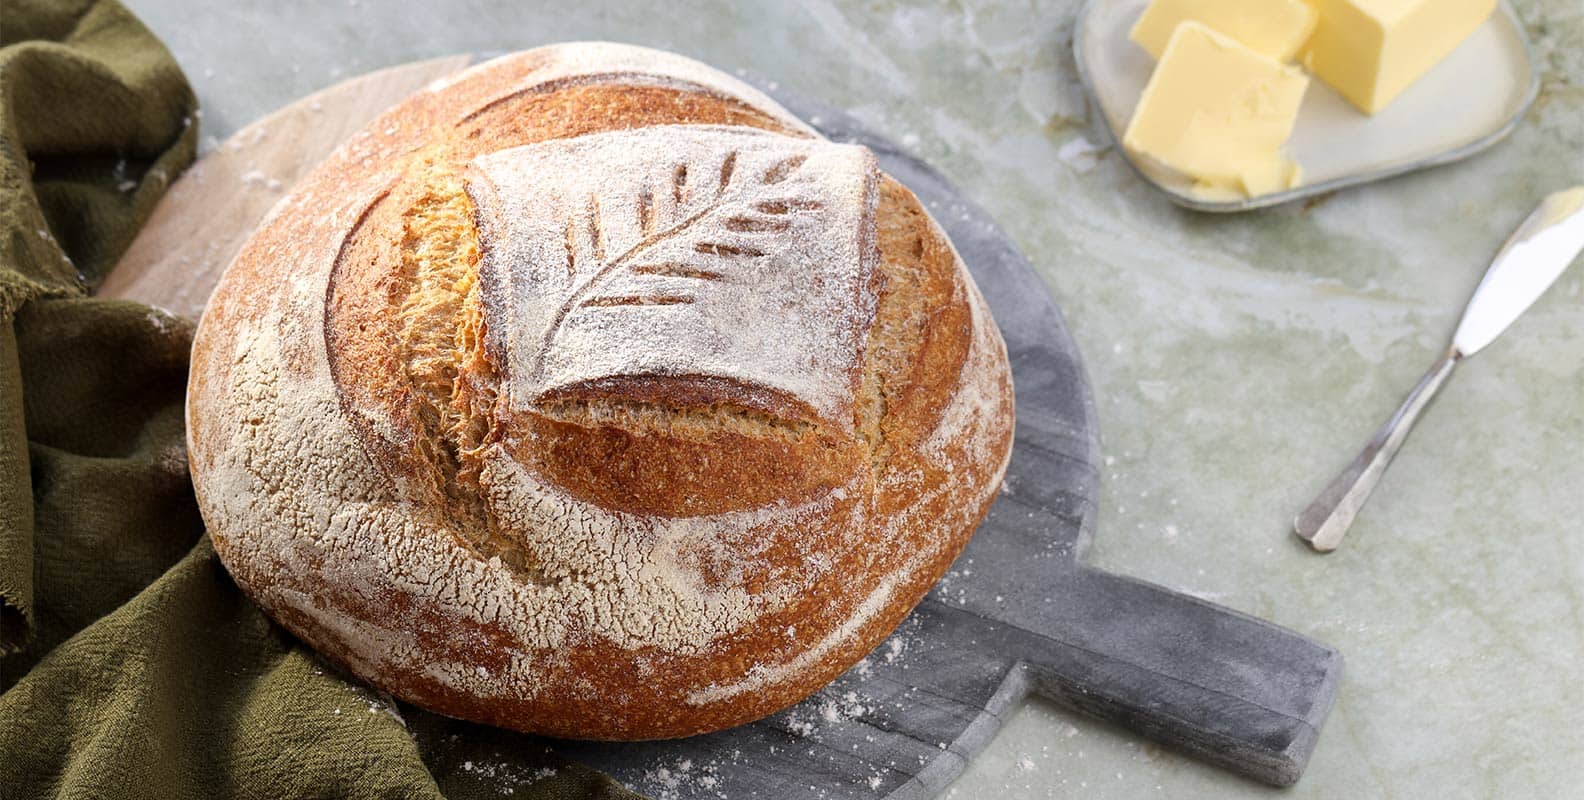
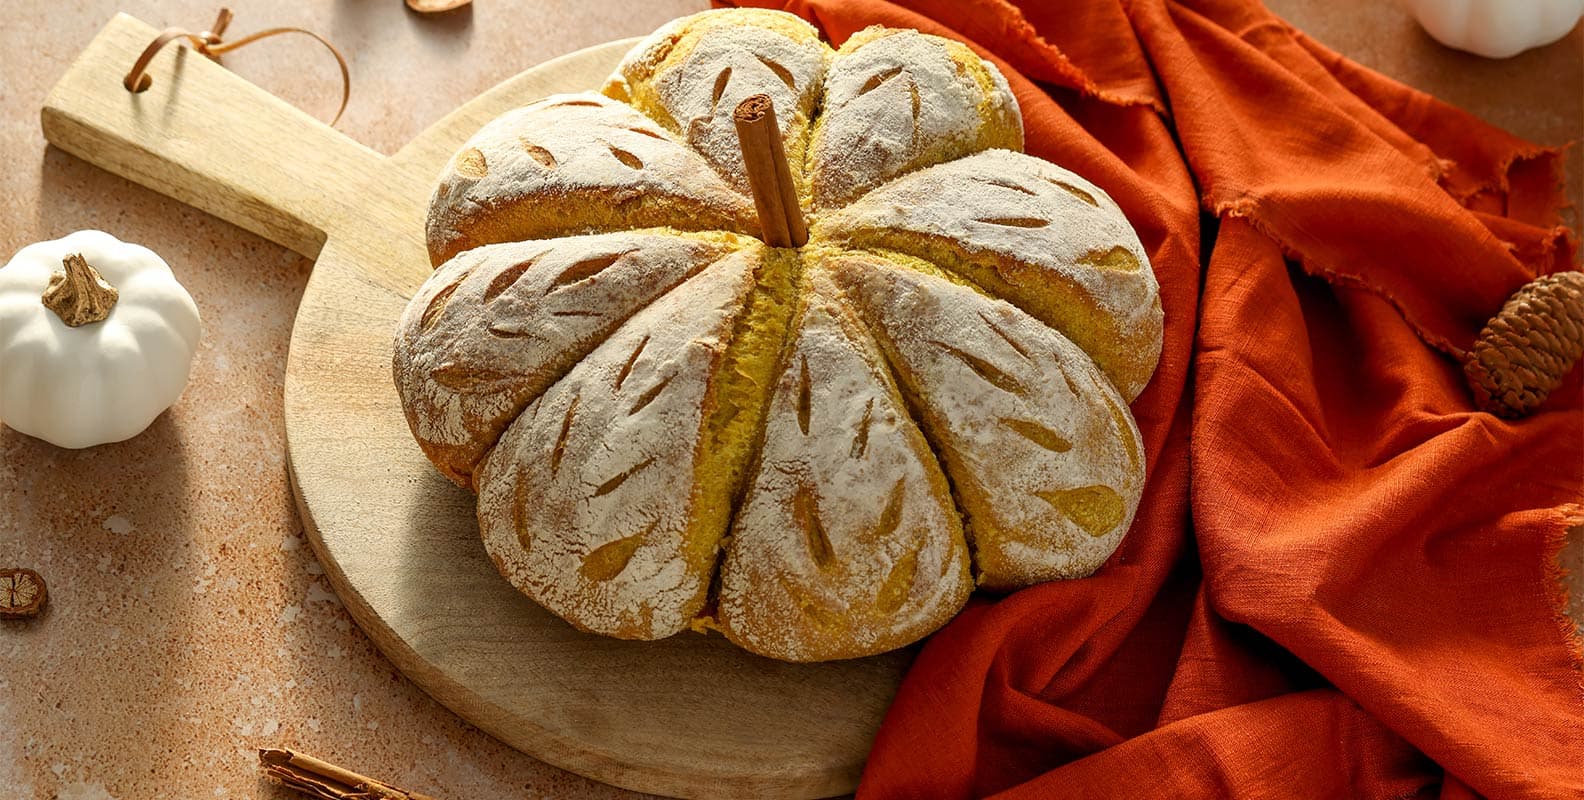
Punktowanie bochenka
Punktowanie chleba polega na wykrawaniu płytkich cięć na wierzchu nieupieczonego bochenka przed włożeniem go do piekarnika. Sprawia, że chleb równomiernie wyrasta i zapobiega niekontrolowanemu pękaniu, ponieważ ciasto chlebowe szybko rozszerza się po włożeniu do piekarnika (efekt nazywany „sprężyną piekarnika”). Pozwala też zapewnić Twojemu bochenkowi profesjonalne wykończenie a Tobie popuścić wodze artystycznej fantazji.
Możesz zdecydować się na pojedyncze, proste nacięcie na górze lub eksperymentować z bardziej skomplikowanymi wzorami i technikami punktacji, takimi jak krzyż, liść lub kłosy zbóż. W intrenecie znajdziesz wiele inspiracji, ale niezależnie od tego, jaki projekt wybierzesz, jego główną rolą jest uratowanie Twojego bochenka przed niekontrolowanymi pęknięciami. Dlatego, jeśli zdecydujesz się na drobniejsze wzorki, pamiętaj, aby umieścić je np. na połowie powierzchni a resztę zrównoważyć dłuższym cięciem z drugiej strony.
Do punktowania użyj ostrego noża lub specjalnego noża piekarskiego, jeśli planujesz bardziej złożone projekty. Oprósz bochenek mąką za pomocą małego sita, aby podkreślić swoje wzory. Nie bój się uwolnić piekarniczą kreatywność!
Najważniejsze wskazówki
Bądź cierpliwy Przygotowanie zakwasu wymaga czasu, a temperatura w pomieszczeniu może znacznie wpłynąć na tempo jego wzrostu. Wybierz miejsce, które jest ciepłe (około 20°C) i wolne od przeciągów. Nie martw się, jeśli temperatura będzie niższa, zakwas nadal będzie rósł – ale potrwa to dłużej.
Mądrze podlewaj Wielu piekarzy decyduje się na użycie wody butelkowanej lub filtrowanej do przygotowania zakwasu, wierząc, że składniki wody kranowej mogą nie stworzyć optymalnego środowiska dla jego wzrostu. Jednak nie jest to koniecznością a w większości polskich domów woda z kranu nie odbiega jakością od tej, kupowanej w sklepach. Kluczową rzeczą jest to, że powinna być letnia, a nie zimna, ponieważ ciepło pomoże rozpocząć proces fermentacji.
Konserwacja zakwasu Kontynuuj odświeżanie zakwasu raz lub dwa razy w tygodniu między planowanym pieczeniem – bakterie w środku są żywe, więc będą wymagały „karmienia”. Jeśli pieczesz regularnie (kilka razy w tygodniu), możesz przechowywać zakwas w temperaturze pokojowej – wówczas będzie szybko gotowy do użycia. W przeciwnym razie pozostaw go pod przykryciem w lodówce i wyjmij 24 godziny przed pieczeniem. Konieczne jest aktywowanie go za każdym razem, gdy zechcesz go użyć, przywracając do temperatury pokojowej i „karmiąc”. Poczekaj, aż pojawią się bąbelki i podwoi swoją objętość.
Nie poddawaj się! Jeśli Twój zakwas nie zwiększy objętości lub nie przejdzie testu łyżeczki w wodzie, nie zniechęcaj się zbyt szybko! Drożdże i bakterie, które ożywiają mieszankę bazową, są organizmami naturalnymi a tym samym nieco zmiennymi i trudnymi do przewidzenia. Czasami wystarczy dać zakwasowi trochę więcej czasu. Kontynuuj jego „dokarmienie” przez kilka kolejnych dni, aż zauważysz oznaki fermentacji i wzrost mieszanki.