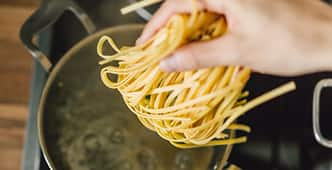
How to Make Fresh Pasta at Home
There’s something quite special about making your own homemade pasta. While the option of dried (store-bought) pasta is never a bad one, there’s nothing that quite gives the same experience of creating fresh pasta from scratch.
This guide introduces you to the world of fresh pasta, providing you with the ingredients and methods required, plus information on storing, cooking and answers to some common questions. We have also provided a selection of delicious recipes you can try yourself, allowing you to experiment with your pasta making once you’ve mastered the basics.
Why make homemade pasta?
Making your own homemade pasta is one of those things that initially may seem like it requires some effort, however many will agree that once you have learnt how, the reward always outweighs this.
Learning how to make fresh pasta is hugely rewarding for any foodie and leaves you with a great sense of pride afterward – especially when you see your family or friends tucking into a bowl of ravioli, tortelli or spaghetti that you have made.
Learning how to make fresh pasta is hugely rewarding for any foodie and leaves you with a great sense of pride afterward – especially when you see your family or friends tucking into a bowl of ravioli, tortelli or spaghetti that you have made.

Also, there is a real pleasure in the process of making it. It’s one of those relaxing and therapeutic experiences that makes cooking so rewarding, plus you will develop a whole new set of cookery skills.
Once you have mastered the basics, you can start to experiment more and have fun with it.
As well as the standard pasta recipe, you can get creative, with home chefs using different natural ingredients to turn their pasta into a variety of colours. Squid Ink is used to turn your pasta black; Spinach makes it green; Tomato paste gives it an orange hue; and Beetroot results in a vibrant purple colour.
Adding these ingredients to your dough will also allow you to test out different flavours. Other things to try include:
Freshly chopped herbs, such as basil, parsley, or mint
Ground spices, such as turmeric, chilli flakes or paprika
Roasted peppers
Cocoa powder
Your creativity does not have to stop there, as you can also try out a range of different pasta shapes. From the long, ribbons of tagliatelle or fettucine, to the more intricate patterns of fusilli, casarecce or silatelli.
Pasta makers, cutters and shaper attachments for your food mixer can make this even easier and quicker.
Pasta makers, cutters and shaper attachments for your food mixer can make this even easier and quicker.

A final reason for making your own pasta is that you are in control of the ingredients you use. This means you can experiment with different flours or use eggs from your favourite local farm. Also, if you are adding new flavours or colours you can source some of these from a trusted supplier or even out of your own garden.
Homemade pasta ingredients

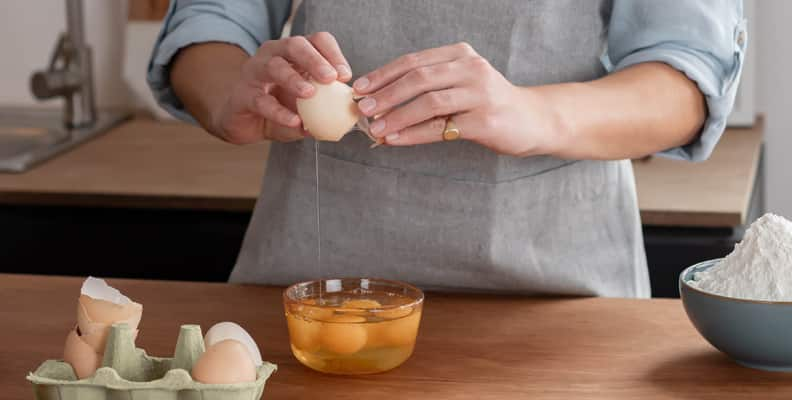
When it comes to making homemade pasta there are two great things about fresh pasta - you only need three key ingredients (flour, eggs and salt) and you are likely to have these in your cupboard or fridge already.
Different recipes have slightly different requirements, as you will see with the recipes we feature below, with some of them requiring additional optional ingredients such as olive oil (which can also help to bind your dough) or semolina.
When it comes to flour, some recipes simply use plain flour, whereas others suggest you use ‘Type 00’. This is a fine, white Italian flour used specifically for fresh pasta making. It is commonly sold in major supermarkets, but your favourite Italian deli or online food supplier will also stock it.
Several people start to experiment with mixing flours too. For example, using a mix of ‘00’ and semolina flour makes the pasta more robust than just using the more delicate pure ‘00’. Depending what type of sauce you are planning on using, you might want to try a different combination.
Homemade pasta equipment
As with many things in cooking, many basic methods only require minimal equipment, but using the right kitchen appliance will make things quicker and easier.
To make homemade pasta completely by hand you simply need a large cutting board, a fork, a rolling pin, some reusable wrap, and a sharp knife.
Taking this step further, you can use a mechanical pasta maker to help you roll the pasta dough to the required thickness.
To help speed up the dough-making part of the process is to use a food processor, rather than the fork method.
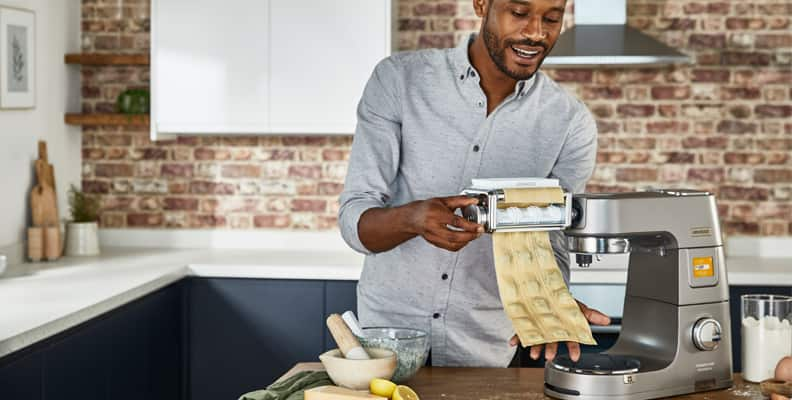
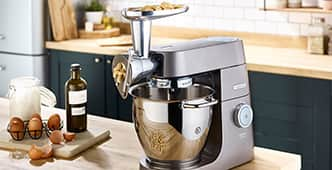
And another option which really helps you make your dough simply is to use a stand mixer. Not only will you be able to speed up the process of mixing the dough, but there are also a wide range of useful pasta attachments, including shapers, rollers and cutters.
A final optional piece of equipment is a pasta drying rack. These are typically wooden and look great in your kitchen with ribbons of fresh pasta drying on them.
Taking this step further, you can use a mechanical pasta maker to help you roll the pasta dough to the required thickness.
To help speed up the dough-making part of the process is to use a food processor, rather than the fork method.
And another option which really helps you make your dough simply is to use a stand mixer. Not only will you be able to speed up the process of mixing the dough, but there are also a wide range of useful pasta attachments, including shapers, rollers and cutters.
A final optional piece of equipment is a pasta drying rack. These are typically wooden and look great in your kitchen with ribbons of fresh pasta drying on them.
Using a stand mixer means you will save time and effort, plus make less mess in your kitchen than if you just do it by hand.

Here are the steps to follow:
1. To start, fit the dough hook to your stand mixer and add the ingredients into the bowl (depending on your pasta recipe)
2. Next use the speed setting 2 and mix for about 3 minutes. You are looking for a mixture that looks crumbly but is still moist. If it seems a bit too dry, then add a tablespoon or two of water, and if it seems too sticky, then add a little extra flour
3. Remove the mixture from the bowl, put it onto a floured large board and then knead it by hand until it becomes a smooth dough
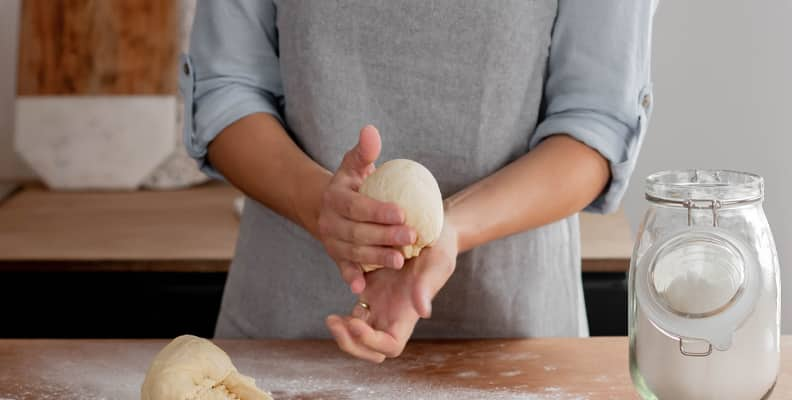
4. Use your hands to form a ball, wrap the dough and let it rest at room temperature for at least 15 minutes (although this can be up to 2 hours if you need to do something else in the meantime)
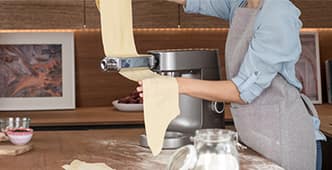
5. Now it is time to turn your dough into pasta sheets. Start by rolling it out with a rolling pin into a flattened oval disc shape. Then take your flattened disc and feed it through the stand mixer pasta roller attachment, roller, changing the setting from 1 to 6 or 7 to get the right thickness (this is typically between 1-2mm). It can be rolled by hand or using a manual machine but once you’ve used the attachment on your mixer, you’ll realise how much easier it is. Alternatively, you can continue to roll it by hand
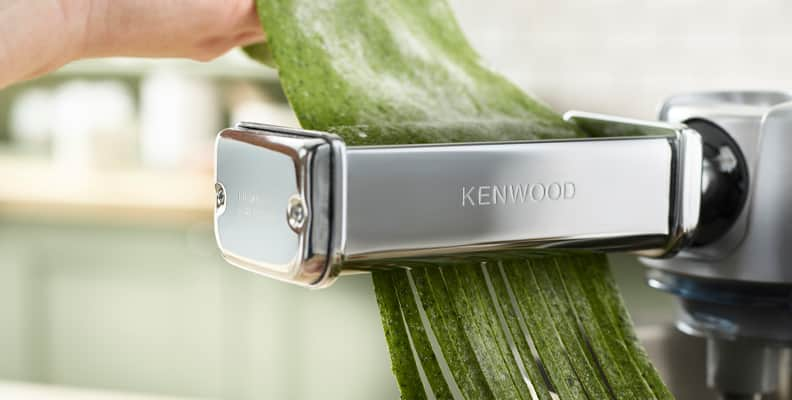
6. Once you have rolled out the pasta sheets, it can be cut into different widths to make lasagne, spaghetti, trenette or fettuccine using the different pasta cutters, or if you wish, you can cut by hand. It can also be used to make filled pasta such as ravioli or tortellini.
7. The last step is to dry the pasta for around 30 minutes, using a pasta rack or creating ‘nests’
1. To start, fit the dough hook to your stand mixer and add the ingredients into the bowl (depending on your pasta recipe)
2. Next use the speed setting 2 and mix for about 3 minutes. You are looking for a mixture that looks crumbly but is still moist. If it seems a bit too dry, then add a tablespoon or two of water, and if it seems too sticky, then add a little extra flour
3. Remove the mixture from the bowl, put it onto a floured large board and then knead it by hand until it becomes a smooth dough
4. Use your hands to form a ball, wrap the dough and let it rest at room temperature for at least 15 minutes (although this can be up to 2 hours if you need to do something else in the meantime)
5. Now it is time to turn your dough into pasta sheets. Start by rolling it out with a rolling pin into a flattened oval disc shape. Then take your flattened disc and feed it through the stand mixer pasta roller attachment, roller, changing the setting from 1 to 6 or 7 to get the right thickness (this is typically between 1-2mm). It can be rolled by hand or using a manual machine but once you’ve used the attachment on your mixer, you’ll realise how much easier it is. Alternatively, you can continue to roll it by hand
6. Once you have rolled out the pasta sheets, it can be cut into different widths to make lasagne, spaghetti, trenette or fettuccine using the different pasta cutters, or if you wish, you can cut by hand. It can also be used to make filled pasta such as ravioli or tortellini.
7. The last step is to dry the pasta for around 30 minutes, using a pasta rack or creating ‘nests’
How to make pasta by hand
An alternative to using a stand mixer to make your pasta is to do it all by hand.

To do this:
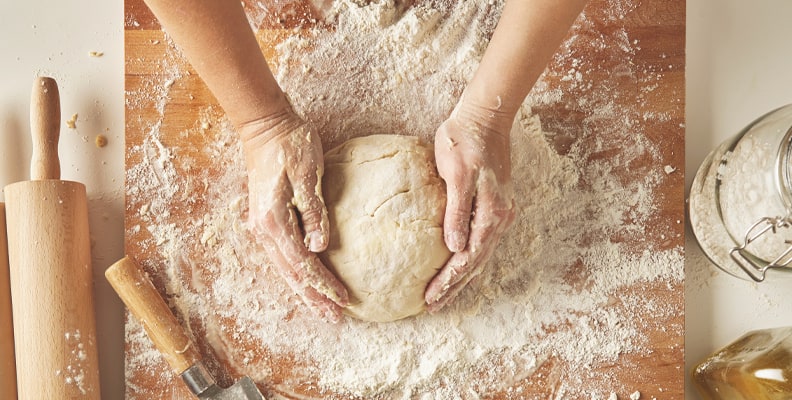
1. Take your flour and create a mound on your board or work surface. Make a well in the centre and add the remaining ingredients to the flour, using a fork to break up the eggs in the process
2. Use your hands to combine the ingredients until you have a rough ball of dough
1. Take your flour and create a mound on your board or work surface. Make a well in the centre and add the remaining ingredients to the flour, using a fork to break up the eggs in the process
2. Use your hands to combine the ingredients until you have a rough ball of dough
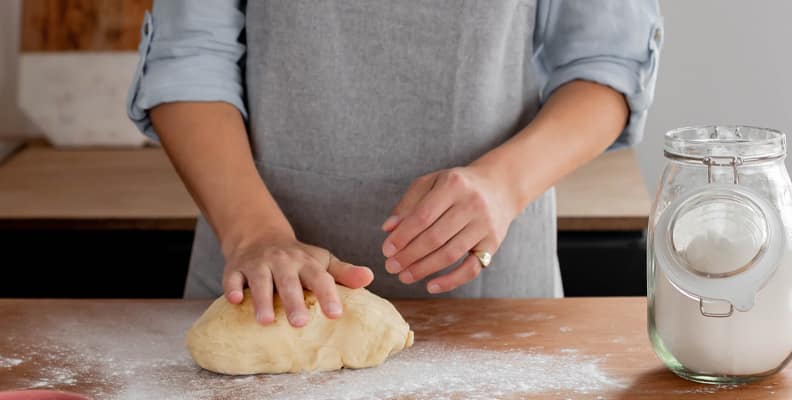

3. Knead the dough until it becomes smooth – this might take around 8-10 minutes, which is longer than if you had used a stand mixer
4. Wrap the dough and leave it to rest at room temperature for around 30 minutes
4. Wrap the dough and leave it to rest at room temperature for around 30 minutes

5. Cut the dough into pieces (depending on how much you have made), then take each one and use a rolling pin to flatten it out to a thickness of between 1-2mm
6. Use a sharp knife to slice it into ‘ribbons’ of different widths, depending on the type of pasta you want to make (for example, tagliatelle, pappardelle or fettuccine). Dust these with some flour to prevent them sticking
7. Finally, you need to dry your pasta, using a specific rack or by creating individual ‘nests’
How to cook fresh pasta
Now you have made your pasta, it’s time to get cooking so you can enjoy it.
The key to remember with cooking fresh pasta compared to the dried equivalent, is that the length of cooking time is much shorter.
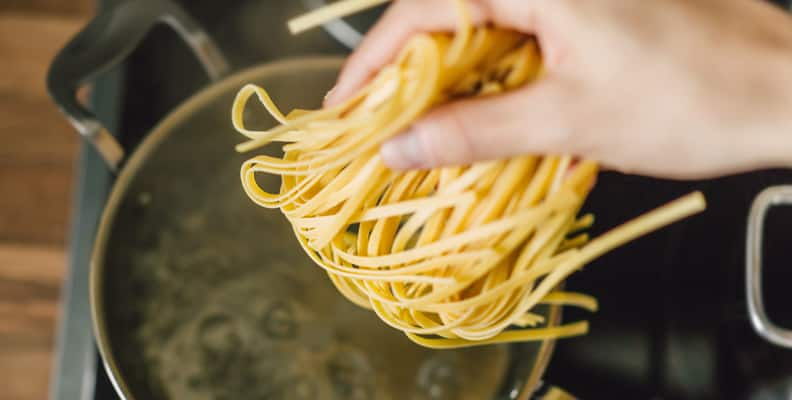
Depending on the thickness, it can cook in as little as 15 seconds, with many pasta types being ‘al dente’, what you should be aiming for, in around 2-3 minutes.
To cook your pasta, simply add it to a large pan of salted boiling water. Add the pasta, stir gently and bring it back to the boil. Then start timing your required cooking length.
Once cooked, drain the pasta immediately and serve as soon as possible.
The key to remember with cooking fresh pasta compared to the dried equivalent, is that the length of cooking time is much shorter.
Depending on the thickness, it can cook in as little as 15 seconds, with many pasta types being ‘al dente’, what you should be aiming for, in around 2-3 minutes.
To cook your pasta, simply add it to a large pan of salted boiling water. Add the pasta, stir gently and bring it back to the boil. Then start timing your required cooking length.
Once cooked, drain the pasta immediately and serve as soon as possible.
Storing fresh pasta
As the name suggests, fresh pasta is best consumed soon after you have made it. You should put it into an airtight container and cook it within two days.
The good news is you can freeze uncooked fresh pasta for up to one month.
Once cooked, it’s likely to still be good the next day, if you’ve found you haven’t eaten it all or ended up making too much for one meal.
As the name suggests, fresh pasta is best consumed soon after you have made it. You should put it into an airtight container and cook it within two days. The good news is you can freeze uncooked fresh pasta for up to one month. Once cooked, it’s likely to still be good the next day, if you’ve found you haven’t eaten it all or ended up making too much for one meal.
Making your own fresh pasta means you can re-visit some of your favourite dishes or start to create your own family favourites. It also allows you to really put your creative skills to the test with lots of flavours. And this creativity gets even more exciting when you consider the huge variety of fresh pasta recipes you can try and enjoy.
Ranging from a simple classic like a spaghetti bolognaise to the more complex prosciutto, ricotta and parmesan tortelloni with pea pesto, pasta recipes are flexible and offer numerous meat-free options.
Here is a small selection of our favourites:
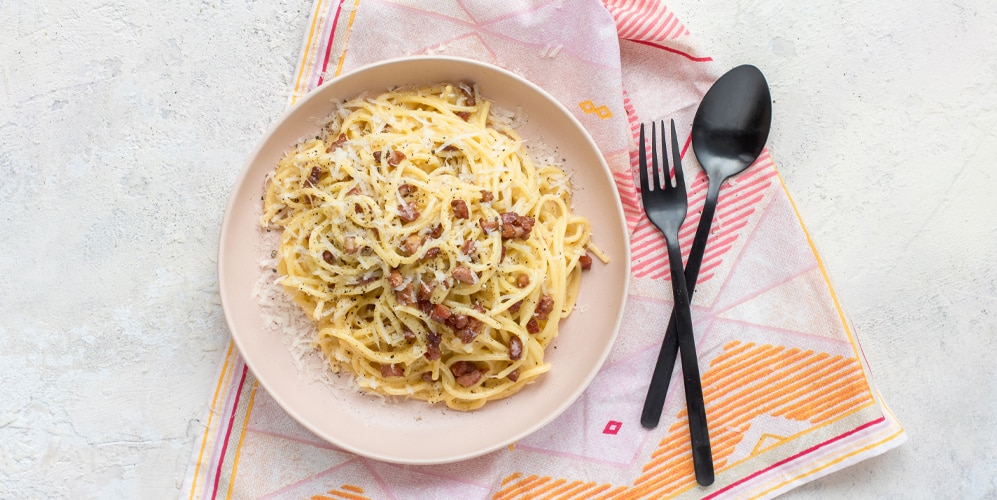
Carbonara

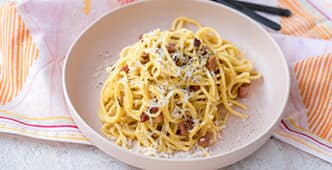
Spaghetti alla carbonara is another classic pasta recipe. It sees fresh spaghetti combined with tangy Parmesan cheese, smoky pancetta and eggs, plus added flavour from garlic, black pepper and olive oil.
Get the recipe
Get the recipe
Chicken pesto roll-up lasagne
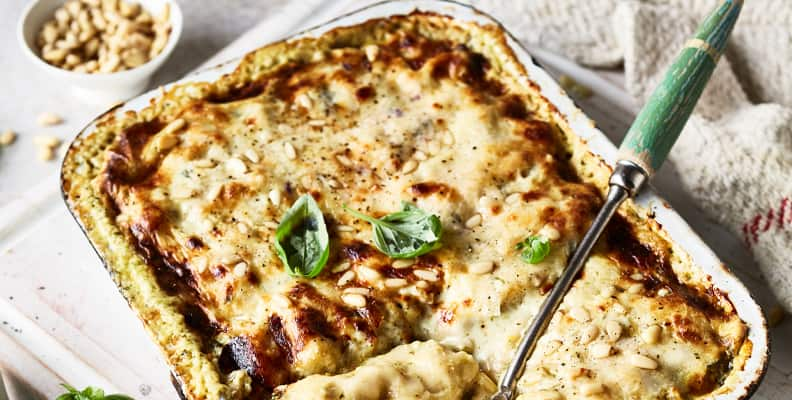

This is a lasagne recipe with a difference. The often-used beef ragu sauce is substituted here with the main ingredients of chicken, butternut squash and green pesto.
Get the recipe
Get the recipe
Squid ink pasta with scallops
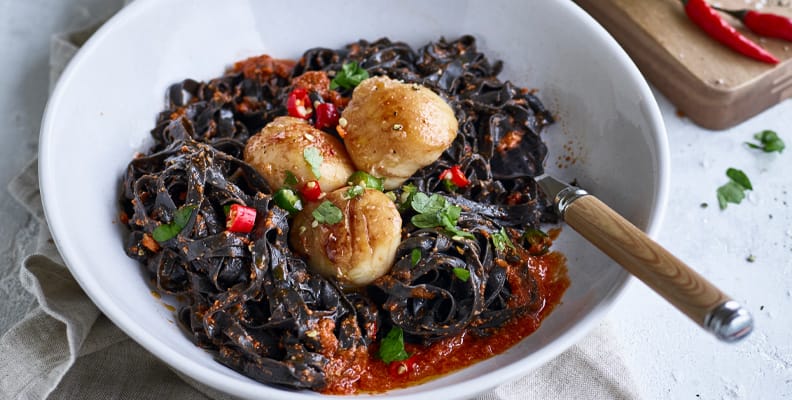

This recipe not only stands out for the beautiful combination of scallops, chilli, garlic and olive oil, but also for the vibrant black colour of the pasta, courtesy of the squid ink. Fettuccine is the pasta of choice here for this dish.
Get the recipe
Get the recipe
Spinach and ricotta tortellini
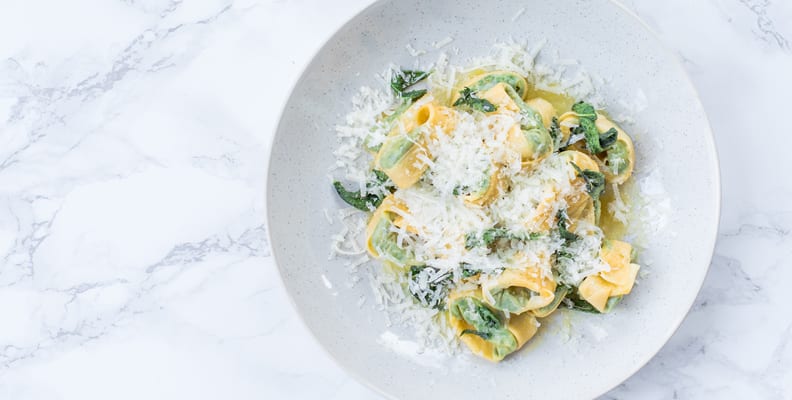

This is a recipe for lovers of stuffed pasta, with a winning combination of spinach and ricotta cheese. What really brings this dish to life is the hint of grated nutmeg and the chopped sage leaves.
Get the recipe
Get the recipe
Crab ravioli
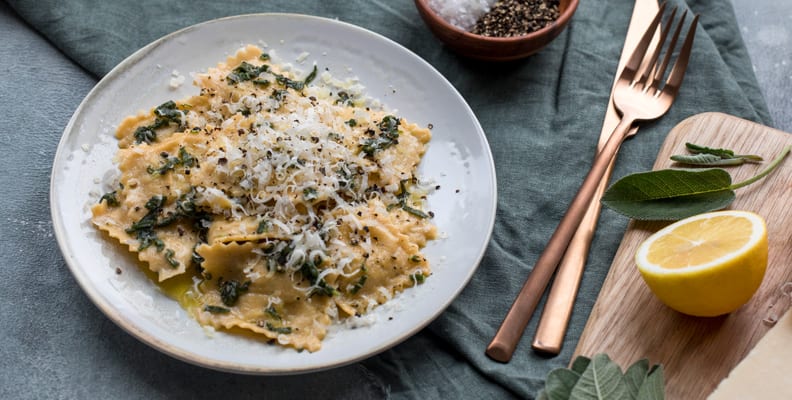

Another recipe with pasta parcels, but this time the pasta ravioli and the filling combines white crabmeat, ricotta and breadcrumbs. Flavours include lemon, parsley, dill and sage.
Get the recipe
Get the recipe
Pasta Making FAQ
This article has hopefully given you lots of information already about making your own pasta, however below is a summary of the key frequently asked questions that you might have.
Which flour is best for making pasta?
It is widely accepted that the best type of flour for making fresh pasta is ‘00’.
This is a white flour and the double zero refers to the coarseness of the texture – single zero (‘0’) flour is coarse and triple zero (‘000’) is fine, with ‘00’ being in between these.
As mentioned above, you can find ‘00’ flour widely these days in major supermarkets, Italian delis and specialist food stores, and in online food stockists.
Should you use eggs or water in your fresh pasta dough?
Unless you’re making vegan-friendly pasta, eggs are the preferred option as they give the pasta moisture.
Eggs help to form gluten for good structure and shape, plus fat, which helps to make it smooth and silky.
There are some fresh pasta recipes that use water instead of eggs, which seem to date back to the times of rationing following the Second World War, where eggs were in short supply.
Selecting the right pasta shape
One of the great things about pasta is the sheer variety of shapes that it can be made in. This means you can have hours of fun in the kitchen experimenting.
To match the right pasta shape to the right sauce, there are some general guidelines to follow:
| Pasta shape | Pasta type | Ideal sauce |
|---|---|---|
| Long and skinny | Spaghetti, linguine, vermicelli, bucatini, angel hair, reinette and fideo | Tomato, cream or oil-based sauces |
| long ribbons | Lasagna, pappardelle, tagliatelle, fettuccine | Rich meat sauces or creamy sauces |
| Tubes | Penne, rigatoni, macaroni, tubini, penne rigate, ziti | Vegetable sauces, Bolognese, ragu |
| Twists | Fusilli, rotini, campanelle, gemelli | Light and smooth sauces, including pesto |
| Shells | Conchiglie, pipe rigate, cavatelli | Heavy cream or meat sauces |
| Filled pasta | Tortellini, ravioli or tortelloni | Light sauces of butter and oil |
| Mini-shapes | Orzo, anelli, orecchiette, tripolini | Soups, casseroles, stews or pasta salad |
Can you freeze uncooked fresh pasta?
Uncooked fresh pasta can be frozen if you need to.
Once you have made it, let it dry out for about 15-30 minutes and then store it in an airtight box in the freezer. Alternatively, you can freeze the dough before rolling and cutting, ready to bring out to create an easy, yet impressive meal whenever you need it.
Like most frozen foods you want to consume it as soon as possible, so many people suggest it should not be frozen for any more than a month.
You can defrost it for a few hours in the fridge, although some people do cook it from frozen. Just keep an eye on the cooking times as it will need a bit longer, but you don’t want to overcook it.
Ready to make your own pasta? Get started with Kenwood.
Making your own fresh pasta is one of those skills to learn that is hugely rewarding and allows you to experiment with a wide range of shapes, colours and flavours.
There’s a bit of learning involved, especially at first, but using equipment like stand mixers make the whole process easier and quicker.
And there is an exciting variety of recipes to try and more importantly enjoy eating. Some others to tempt you include:
Beef shin ragu
Courgette and tomato tagliatelle